

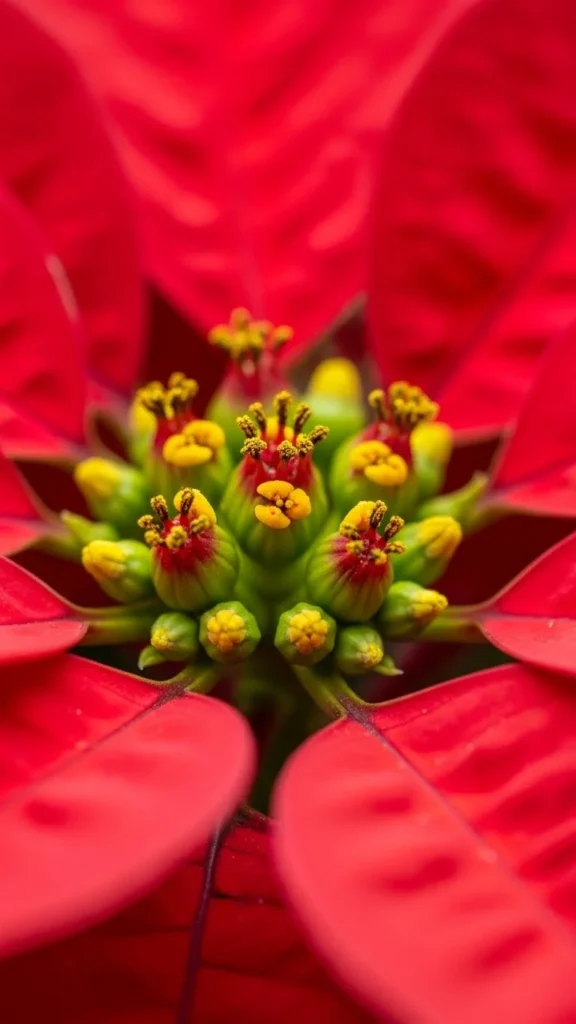
A poinsettia tattoo is one of the most charming ways to celebrate the holiday season. Its layered petals, star-like shape, and rich festive colors make it a favorite design for anyone who wants a tattoo that feels both meaningful and seasonal. Whether you’re sketching your first concept or refining your tattoo style, creating an elegant poinsettia comes down to flow, detail, and a bit of artistic finesse.

Start With the Basic Shapes
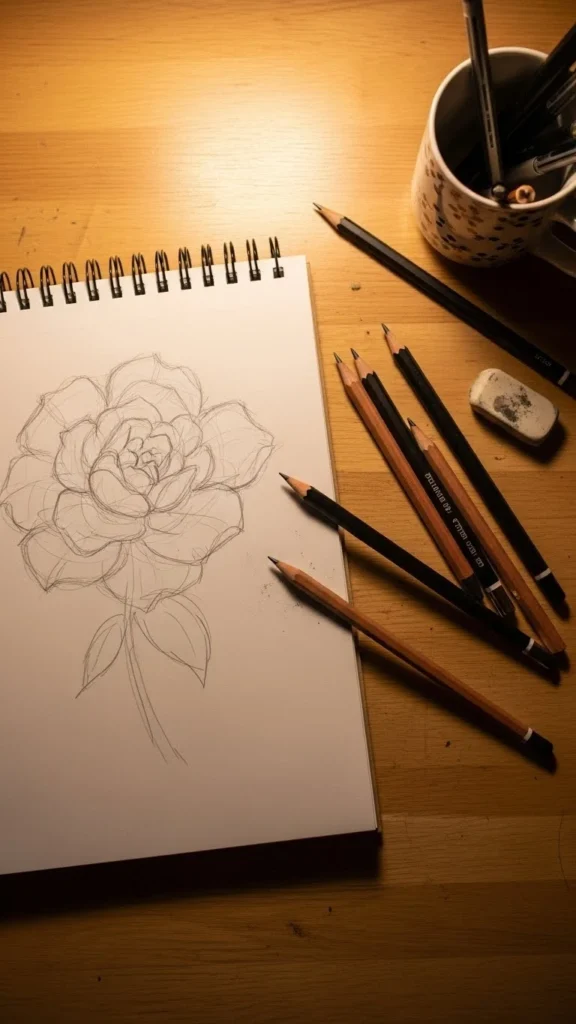
A beautiful poinsettia sketch begins with structure. Before you draw any details, you want the overall shape to feel balanced and natural.
Begin with simple guidelines:
- Lightly sketch a circle to mark the outer edges of your flower.
- Add a smaller circle in the center to guide the placement of the petals.
- Draw faint lines across the circles to help space out each petal evenly.
This doesn’t need to look perfect—these lines simply help you avoid uneven or crowded sections later. Think of them as your “map” for a clean, elegant tattoo layout.
Shape the Petals With Soft Flow
Poinsettias are known for their layered, pointed petals. To keep the tattoo elegant, focus on smooth lines and flow rather than sharp geometric shapes.
Tips for drawing graceful petals:
- Use long, confident pencil strokes.
- Vary the size—mixing slightly longer and shorter petals gives it a natural look.
- Let the petals overlap subtly to create depth.
- Keep the edges slightly curved instead of stiff or perfectly uniform.
Once you’ve drawn one full layer of petals, add a second layer behind it. Make this layer a little wider and less structured—that’s what gives the poinsettia its blooming effect.
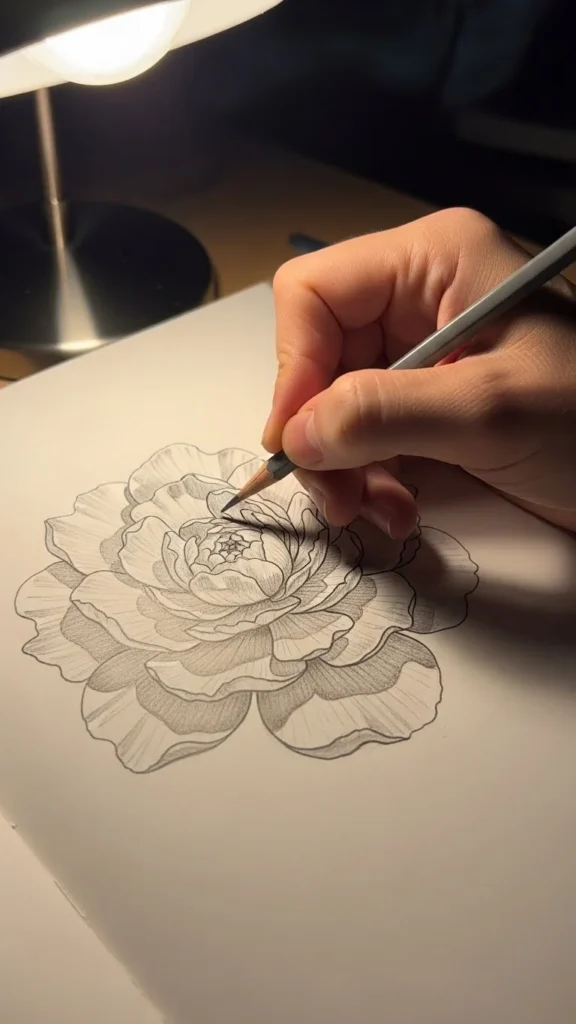
Add Beautiful Details and Texture
To elevate your poinsettia tattoo sketch, focus on gentle detailing rather than harsh lines. Poinsettias have veins that add richness and dimension.
Here’s how to make them stand out:
- Draw thin, subtle veins branching from the center of each petal.
- Use soft shading near the petal edges.
- Add slight shadows where the petals overlap.
- Leave some white space to keep the sketch airy and elegant.
If you want your tattoo to feel extra festive, consider including tiny accent elements—like curls, snow-like dots, or delicate botanical swirls around the flower.
Just keep everything light. Elegance comes from simplicity.
Refine the Center for a More Realistic Look
The center of a poinsettia is small but important. Adding detail here helps the whole flower look complete.
What to include:
- A tiny cluster of rounded buds.
- Soft shading to give the center a slight “lift.”
- Minimal line work—just enough to define shape without crowding the design.
This part often goes unnoticed, but in tattoo sketches, it brings natural balance to the entire flower.
Enhance Your Layout With Additional Elements
If you want a more decorative tattoo, think about what you’d like to pair with your poinsettia. Add supporting elements that match the elegant tone.
Here are a few ideas:
- Slim leafy sprigs for movement
- Tiny stars or sparkles for a festive feel
- Soft ribbon-like shapes for a gentle framing
- Snow-dusted leaves for winter charm
When adding extras, keep them light so they don’t overpower the main flower.
Finish With Clean Lines and Soft Shading
Once your sketch feels complete, finalize it with gentle refinement. This step ties everything together and gives your design a polished look.
To complete your poinsettia design:
- Darken your main outlines with a steady hand.
- Keep line weight consistent—thin lines feel more delicate.
- Shade inward from the petal tips to create softness.
- Add minimal contrast to keep the design airy and elegant.
Your final sketch should feel balanced, festive, and full of subtle beauty—perfect for a Christmas tattoo that stands out without feeling overwhelming.
Final Thoughts
Sketching an elegant poinsettia tattoo is a relaxing and creative way to bring holiday charm to your artwork. With soft lines, thoughtful detail, and a bit of festive flair, you can create a design that feels meaningful and timeless.
If you’re planning to turn your sketch into ink later, save this guide—and save this idea for later!

Leave a Reply