

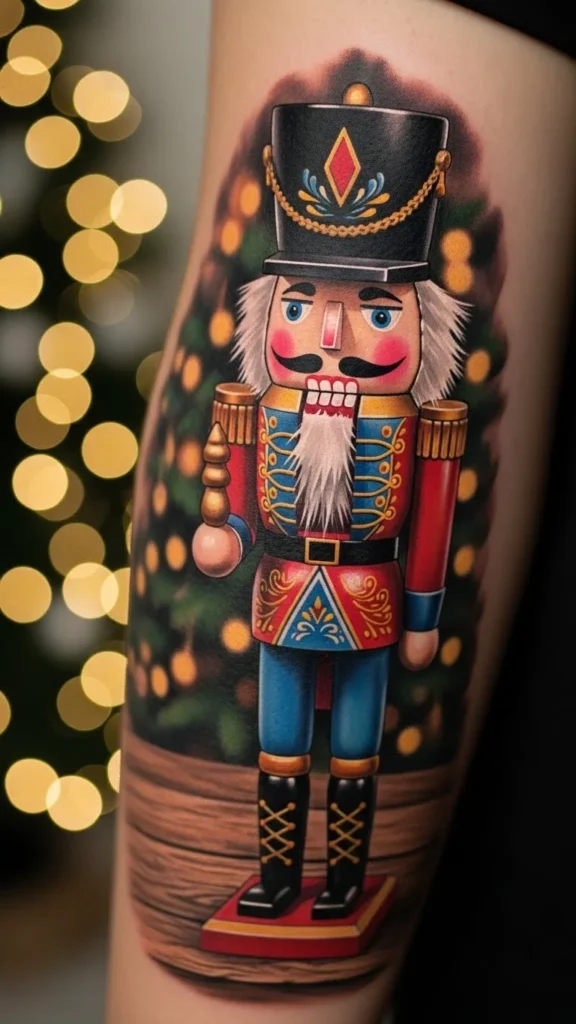
A classic nutcracker design is one of the most charming ways to bring holiday magic into tattoo art. Whether you’re sketching for a client or creating a festive piece for your portfolio, a nutcracker tattoo blends tradition, whimsy, and bold structure—all in one character. This guide walks you through the process step-by-step, helping you design a nutcracker filled with personality and nostalgic charm.
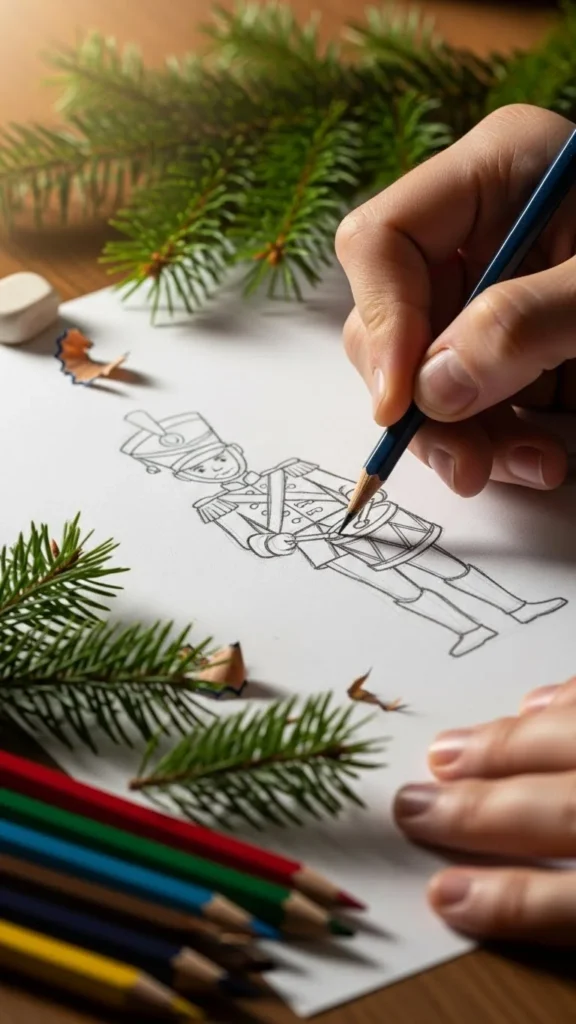
Start With the Basic Silhouette
Before diving into colors or details, you want a clean outline that captures the nutcracker’s posture. Most nutcrackers follow the same structure: tall, blocky, and slightly stiff—but that’s part of their charm.
- Sketch a long rectangle for the body.
- Add a rounded or square head on top, depending on the style you’re going for.
- Draw straight, uniform legs and simple boots.
- Keep the stance firm and symmetrical to highlight that iconic toy-soldier feel.
Once the silhouette is down, lightly map where facial features, jacket lines, and accessories will sit. Keeping your sketch light at this stage makes later changes easier.
Define the Facial Features With Expression
The nutcracker’s face is what gives the tattoo its personality. Some artists choose a stern, regal look while others go cute and friendly. Either direction works—just stay consistent with the vibe.
Tips for the face:
- Keep the jaw strong and slightly square.
- Add round eyes with a bold outline for definition.
- Sketch a curved mustache, a signature feature for most nutcrackers.
If you want extra holiday charm, soften the lines around the eyes or add rosy cheeks.
Bring the Outfit to Life With Decorative Details
The outfit is where a nutcracker tattoo really shines. This is your chance to mix classic traditions with your own artistic style.
Common outfit elements:
- A tall soldier’s hat with a jewel or emblem
- Shoulder epaulets with fringes
- A structured jacket with vertical buttons
- Patterned cuffs or sleeve rings
- Boots with trim or studs
Consider adding holiday-inspired details like snowflake patterns, gold accents, tiny stars, or holly leaves.

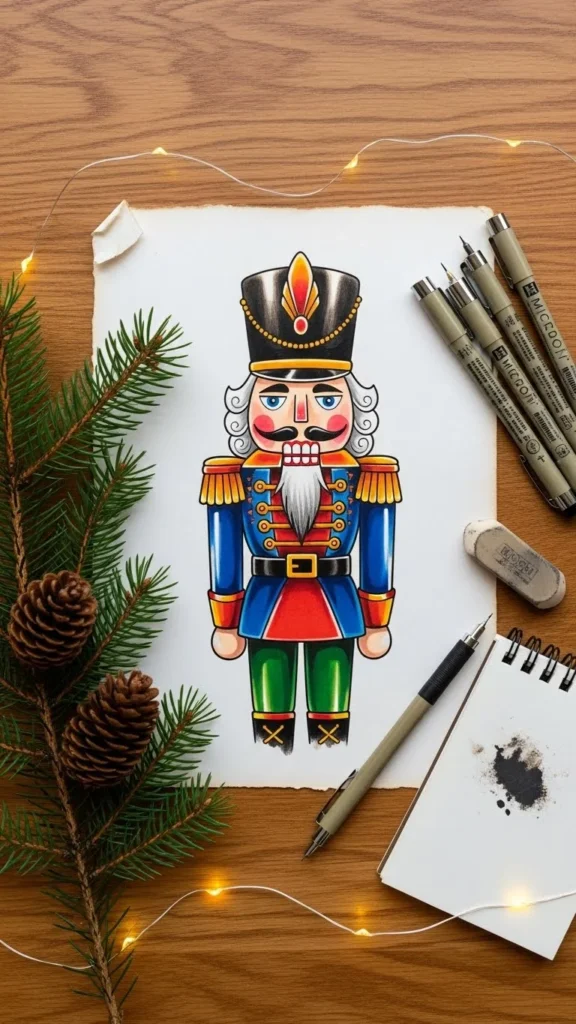
Add Clean Line Work to Sharpen the Structure
Nutcrackers are known for sharp edges and bold outlines, so clean line work is essential. Once your sketch is complete, go over it with darker, more confident strokes.
Line work tips:
- Use thicker lines around the outer silhouette to create a bold frame.
- Thin lines work best for facial details and decorative patterns.
- Consider slight line weight variations to add depth and visual interest.
Keeping the line work clean ensures the tattoo translates well on skin, even at smaller sizes.
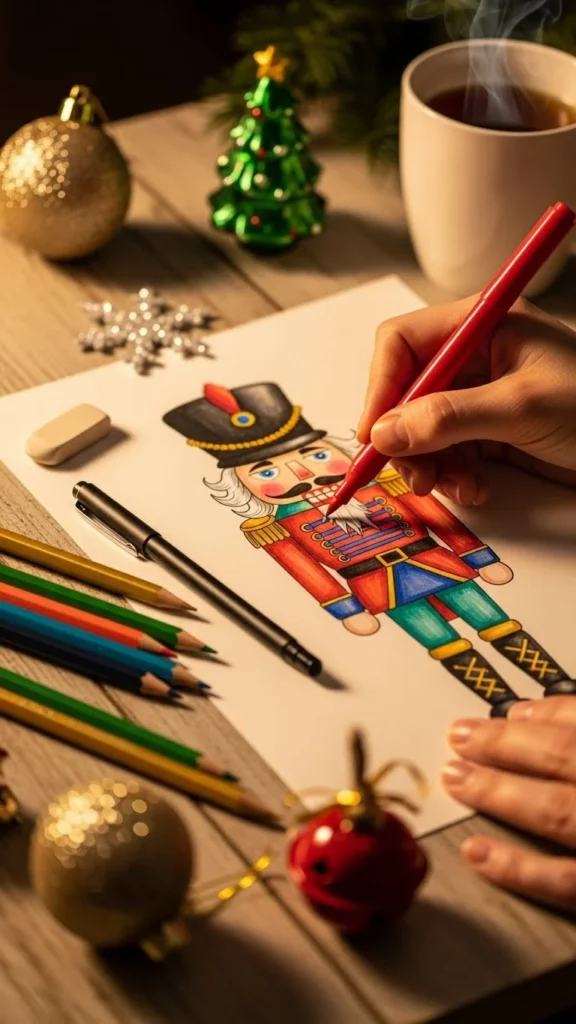
Introduce Color and Texture for a Festive Finish
Color is what brings a nutcracker tattoo fully to life. Classic shades like red, green, blue, and gold will instantly give it that timeless holiday feel. If you prefer a modern twist, pastel palettes also work beautifully.
Ways to enhance your coloring:
- Add subtle shading under the hat rim, jacket folds, and boots.
- Use gradients to give wooden textures a realistic look.
- Highlight edges with soft strokes to create shine.
Don’t forget to add texture—nutcrackers are made of painted wood, so using gentle strokes to mimic wood grain can make your design stand out.
Add Holiday Elements to Make the Tattoo Special
Once your nutcracker is complete, think about extra holiday touches that make the tattoo unique. You can add:
- Falling snowflakes
- Garland swirls
- Tiny candy canes
- Gift boxes
- Stars or sparkling accents
These elements help create movement around a traditionally stiff figure and make the tattoo feel playful and warm.
Finalize With a Polished Composition
When the character and accents are all in place, step back and look at the composition as a whole. Make sure:
- The figure stands centered and balanced
- Additional elements don’t overcrowd the design
- The colors feel cohesive and festive
- The spacing allows the tattoo to breathe
A polished composition ensures the final tattoo looks intentional, refined, and ready to bring holiday joy.
Final Takeaway
Sketching a classic nutcracker tattoo is all about balancing structure with personality. Start with a strong silhouette, build expressive details, and finish with warm, festive elements that feel true to the season. Save this guide for your next holiday-inspired tattoo project—and don’t forget to bookmark it for later creativity!

Leave a Reply