

If you want to draw a cute, heart-melting reindeer tattoo design that looks perfect for the holidays (or any cozy season), you’re in the right place. This guide walks you through each step in a simple, relaxed way—even if you’re not a pro artist.
Let’s jump in and bring your adorable reindeer to life!
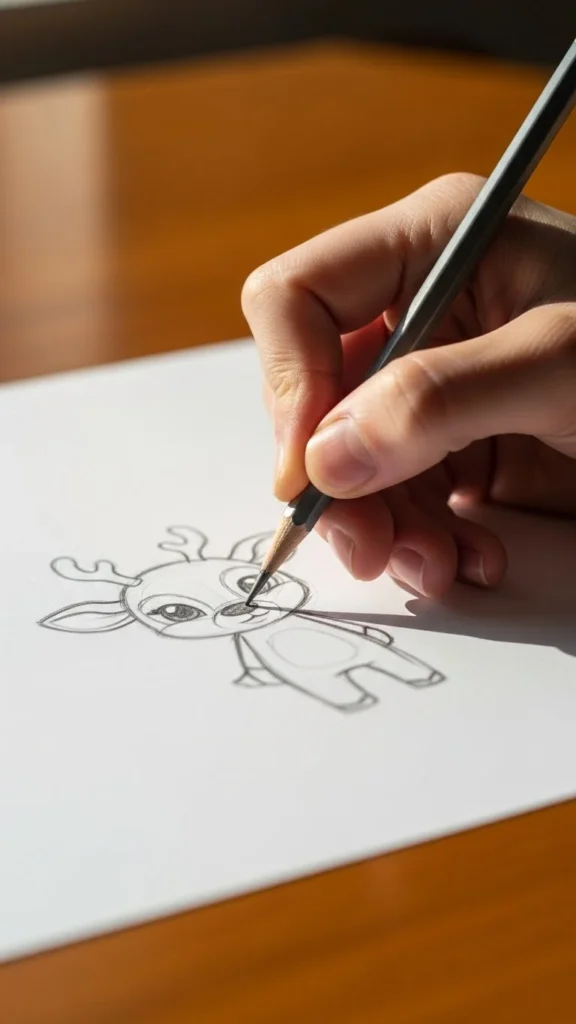
Step 1: Start With a Light Sketch of the Head Shape
Begin with a soft, loose outline. You’re not aiming for perfection here—just getting the shape in place.
- Draw a rounded oval for the main head.
- Add a small circle for the snout area.
- Keep the lines light, easy, and erasable.

Tips to keep this step fun:
- Hold your pencil lightly to avoid harsh lines.
- Don’t worry if the shapes look uneven—you’ll refine them later.
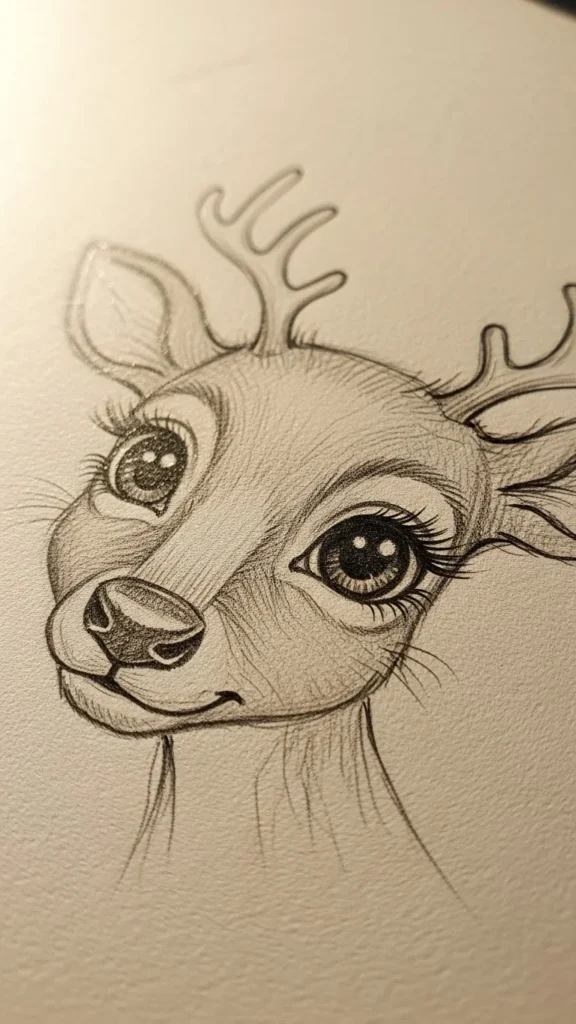
Step 2: Add Sweet Facial Features
Now it’s time to turn that simple shape into a character with personality.
- Add large round eyes for maximum cuteness.
- Sketch tiny lashes or a slight sparkle spot.
- Draw a small rounded nose and a soft, smiling mouth.
Small tricks that make a big difference:
- Make the eyes slightly larger than average to create a charming, gentle expression.
- Add a tiny highlight circle inside each eye for a lively look.
Step 3: Shape the Ears and Antlers
Now your reindeer will start to look like… well, a reindeer.
- Add two rounded ears on each side of the head.
- Sketch simple, branch-like antlers that curve upward.
- Keep the antlers light and whimsical—not too sharp or intense.
Things to remember:
- The antlers don’t have to be perfectly symmetrical.
- You can choose thinner or thicker antlers depending on your style.
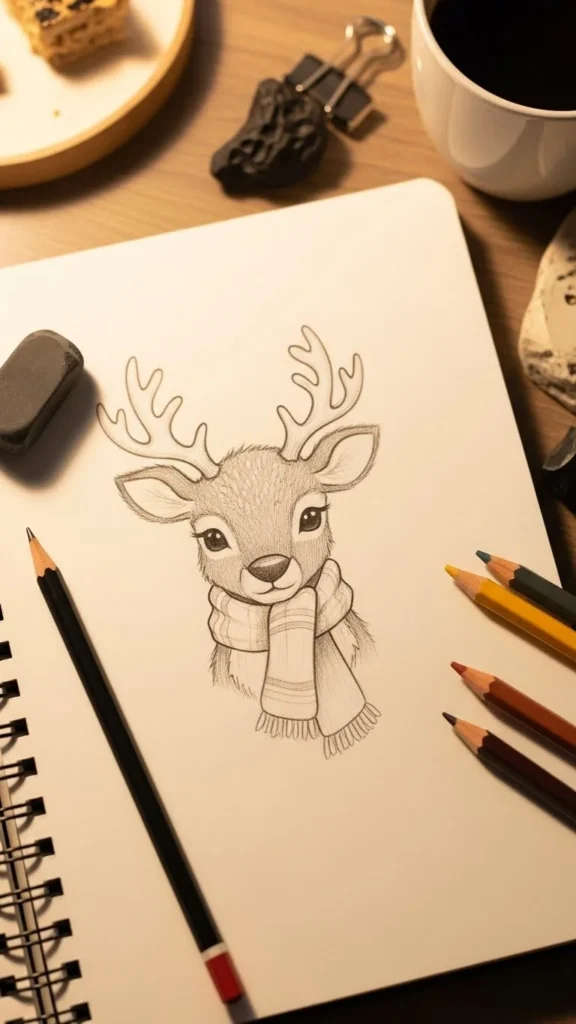
Step 4: Draw the Body and Cute Little Details
Time to finish the full character silhouette.
- Add a small rounded body that matches the cute style of the face.
- Sketch short legs or just the shoulders and chest, depending on your tattoo style.
- Add small accents like a scarf, collar bell, or snowflakes nearby.
Helpful touches:
- Accessories add charm and personality.
- Keep proportions small and sweet for that “tattoo-ready” look.
Step 5: Clean Up the Sketch With Soft Outlines
Now refine your work so it looks neat and polished.
- Erase any overlapping lines.
- Darken the shape you want to keep.
- Smooth the curves and adjust the proportions gently.
What to focus on:
- Keep your outlines flowing and natural.
- Preserve the softness—this keeps the reindeer looking adorable rather than intense.
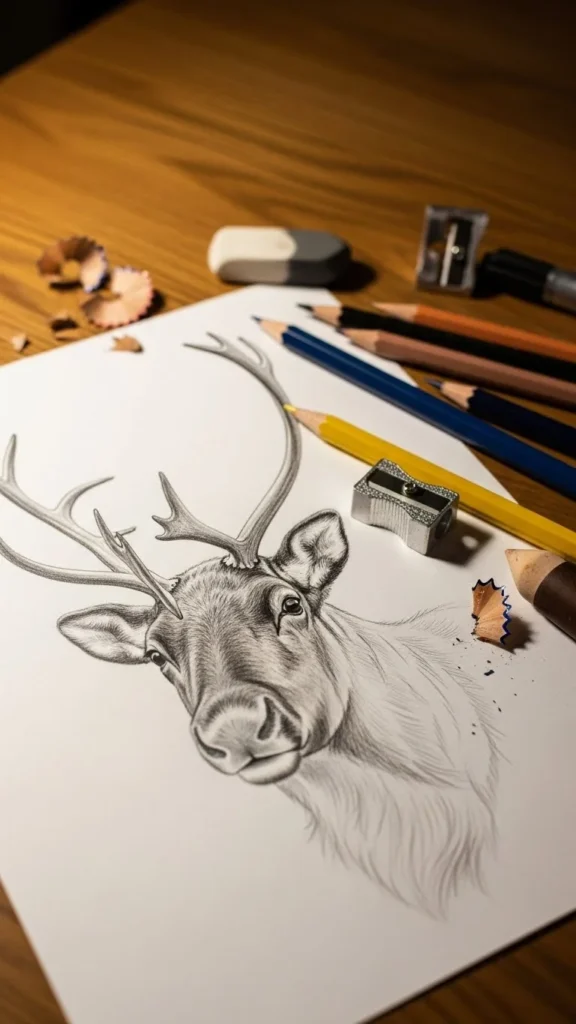
Step 6: Add Shading for Depth and Warmth
This is where your design becomes dimensional.
- Shade under the eyes, on the snout, around the ears, and under the antlers.
- Keep shading soft and blended.
- Add light shadow under the body or scarf.
Shading tips:
- Use the side of your pencil for smooth tones.
- Blend lightly with a cotton swab or tissue.
Step 7: Final Touches to Make It Tattoo-Ready
The last step is adding polish and personality.
- Decide if you want bold outlines, or a light, fine-line tattoo style.
- Add tiny stars, hearts, or winter-inspired shapes around the reindeer.
- Make sure the lines feel balanced and harmonious.
Optional ideas:
- Add soft blush circles to the cheeks for extra cuteness.
- Create thin line work around the antlers to give a magical glow effect.
Your Adorable Reindeer Drawing Is Ready!
You’ve created a sweet, festive reindeer tattoo sketch that’s perfect for the holidays—or anytime you want to add some charm to your artwork. Whether you plan to ink it yourself, share it with a tattoo artist, or use it for holiday crafts, your design is full of personality and warmth.
Save this guide for later and come back whenever you want to create another cute tattoo sketch!

Leave a Reply