

Minimalist tattoos are everywhere right now—and for good reason. Clean lines, quiet confidence, and timeless appeal make them easy to love and easy to wear. But designing one that actually looks intentional (not unfinished) takes a thoughtful approach.
Whether you’re sketching your first idea or refining a concept for a client, this guide walks you through simple, practical steps to design minimalistic tattoos that stay crisp, modern, and meaningful.
What Makes a Tattoo Truly Minimalist?
Minimalism isn’t about doing less work. It’s about making smart design choices.
A strong minimal tattoo usually has:
- One clear idea
- Very limited line variation
- Plenty of negative space
- No unnecessary details
If you can remove an element without changing the meaning, it probably doesn’t belong.
Think clarity over decoration.
Start With One Strong Concept
Before you draw anything, decide what the tattoo is really about.
Ask yourself:
- What emotion or idea should this represent?
- Can this be shown with one symbol or shape?
- Would someone understand it at a glance?
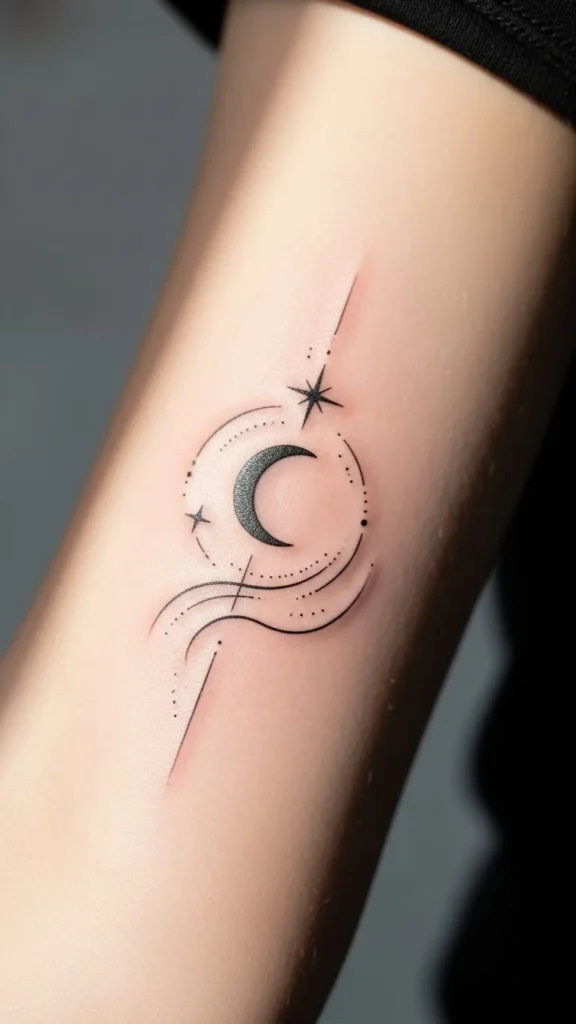
Good minimalist concepts include:
- Simple objects (moon, leaf, matchstick)
- Abstract symbols
- Single-line figures
- Tiny animals or plants in outline form
Avoid combining multiple ideas. Minimal designs work best when they stay focused.
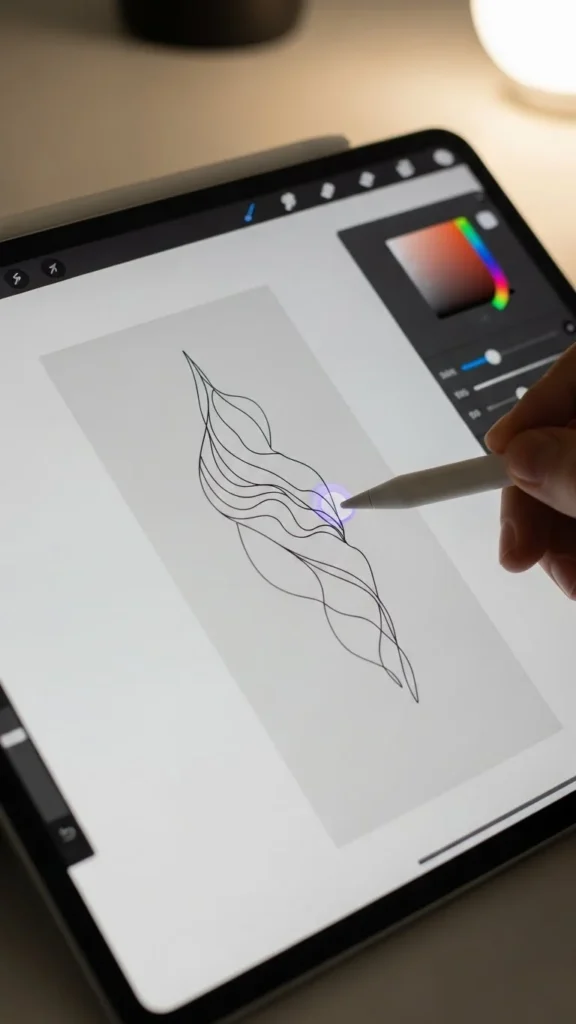
Choose Clean, Intentional Line Work
Line quality is everything in minimal tattoos. There’s nowhere to hide.

Tips for clean lines:
- Stick to one line weight whenever possible
- Avoid sketchy or broken strokes
- Use smooth curves instead of sharp angles unless intentional
- Keep intersections simple and readable
When in doubt, simplify the line even more. Thin, confident strokes age better than overworked ones.
Use Negative Space as Part of the Design
Negative space isn’t empty—it’s a design tool.
Instead of filling areas:
- Let skin show through
- Suggest shapes instead of outlining everything
- Create balance by spacing elements evenly
Minimal tattoos often look best when they feel “airy.” If the design feels crowded on paper, it will feel even tighter on skin.
Keep Shapes Simple and Balanced
Complex shapes fight against minimalism.
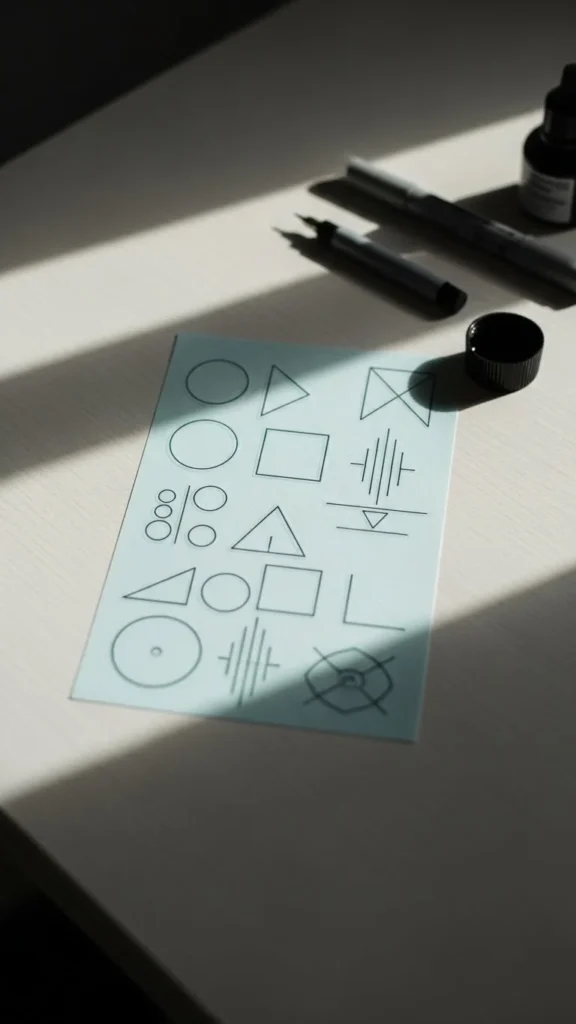
Focus on:
- Circles, lines, dots, and gentle curves
- Symmetry or intentional asymmetry
- Visual balance from all angles
A good trick: zoom out or step back. If the design still reads clearly from a distance, you’re on the right track.
Scale Matters More Than You Think
Minimalist tattoos are often small—but small doesn’t mean careless.
Before finalizing:
- Test the design at actual tattoo size
- Make sure lines won’t blur together over time
- Avoid tiny gaps that could close as the tattoo heals
Popular placements for clean minimal designs:
- Inner wrist
- Collarbone
- Behind the arm
- Ankle
- Side of the finger (with caution)
Design for the body, not just the sketchbook.
Limit Color or Skip It Entirely
Most modern minimalist tattoos rely on black or very soft tones.
If you use color:
- Stick to one muted shade
- Avoid gradients
- Keep fills minimal or flat
Black ink remains the most reliable for sharp, long-lasting minimal tattoos. It also enhances contrast and keeps the design timeless.
Edit Ruthlessly Before Finalizing
This step separates good designs from great ones.
Before committing:
- Remove one more detail than feels comfortable
- Ask: “Does this line add meaning?”
- Print or preview it on skin-toned backgrounds
- Let the design sit overnight, then review again
Minimalism rewards restraint. If you hesitate about an element, cut it.
Work With the Tattoo Artist, Not Against Them
A clean minimalist tattoo depends heavily on execution.
Talk with the artist about:
- Line thickness recommendations
- Placement adjustments
- Long-term aging concerns
An experienced artist may suggest small changes that dramatically improve how the tattoo heals and ages. Trust that process.
Final Thoughts: Less Really Is More
Designing minimalistic tattoos is about clarity, patience, and confidence. When every line has a purpose, the result feels modern, elegant, and personal.
You don’t need more detail.
You need better decisions.
Save this guide for later, sketch slowly, and let simplicity do the heavy lifting.

Leave a Reply