

Tiny tattoos have a special kind of magic. They’re subtle, personal, and elegant—but only when they’re done right. A poorly planned micro tattoo can blur, fade, or lose its shape fast. The good news? With the right approach, you can design small tattoos that stay sharp, readable, and beautiful for years.
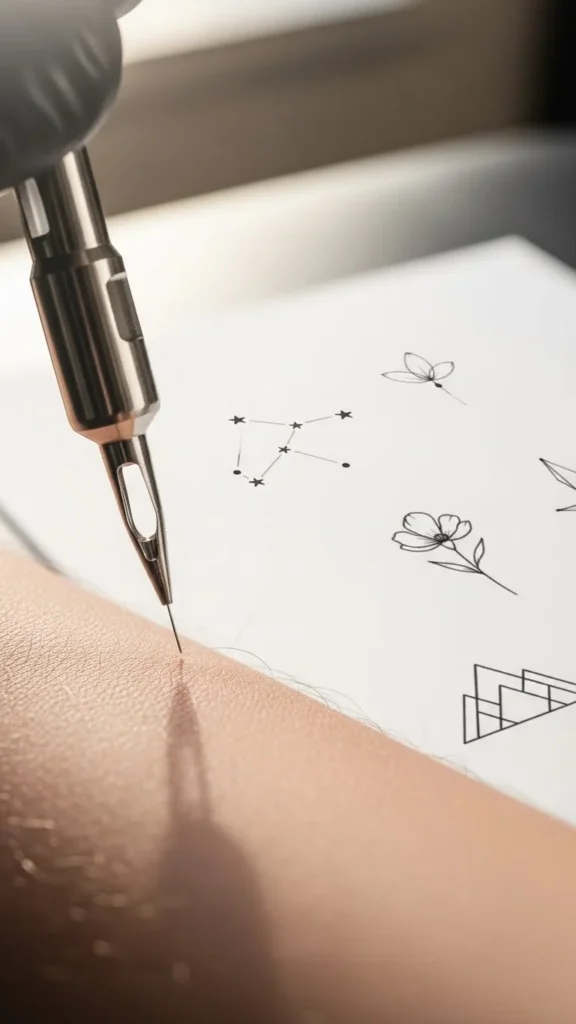
Let’s break it down step by step so your tiny tattoo designs look intentional, not accidental.
Understand Why Tiny Tattoos Blur (and How to Prevent It)
Before you draw anything, it helps to know what you’re up against. Skin isn’t paper. Over time, ink naturally spreads a little under the surface.
Common reasons tiny tattoos lose clarity:
- Lines are too close together
- Details are too small for the skin area
- Line weight is inconsistent
- Design relies on shading instead of structure
To keep designs crisp, you need to simplify on purpose. Less detail doesn’t mean less impact—it means smarter design.
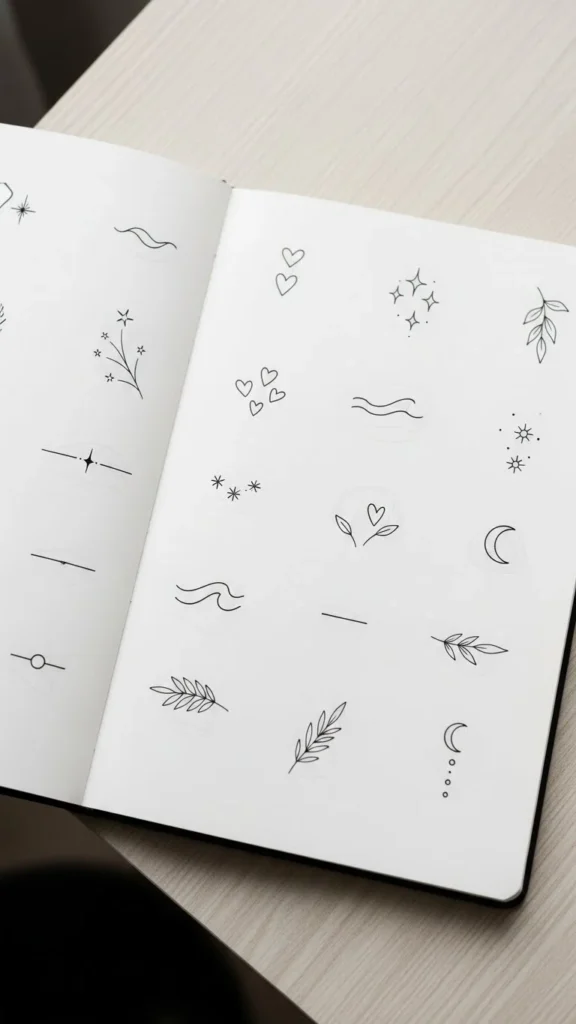
Choose Simple Shapes That Age Well
Tiny tattoos work best when they’re built from strong, clear shapes.
Think:
- Hearts, stars, moons
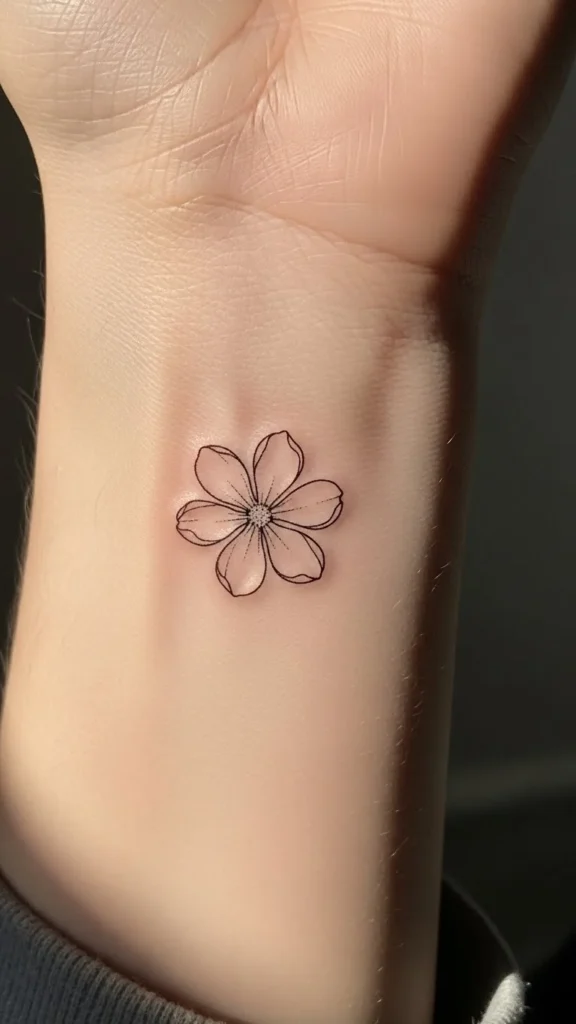
- Single flowers or leaves
- Tiny symbols or icons
- Minimal animals in outline form
Avoid:
- Complex faces
- Dense textures
- Tiny lettering with thin spacing
Pro tip: If the design still looks good when shrunk to the size of a coin, you’re on the right track.
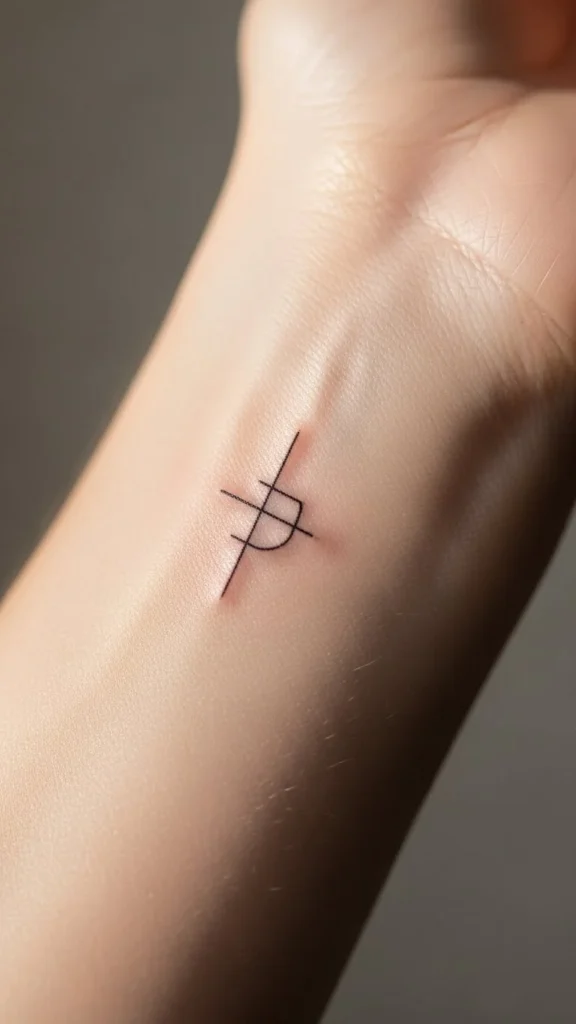
Use the Right Line Weight (This Matters More Than You Think)
One of the biggest mistakes in tiny tattoos is going too thin.
Ultra-fine lines may look delicate at first, but they can fade or break over time. Instead:
- Use slightly thicker lines than you think you need
- Keep line weight consistent throughout the design
- Avoid mixing thick and ultra-thin lines in very small pieces
A clean, confident line will always age better than a barely-there one.
Leave More Space Than You Think You Need
Negative space is your best friend.
When drawing tiny tattoos:
- Space out lines more than feels necessary
- Avoid touching or overlapping elements
- Let the skin breathe between shapes
If you’re unsure, increase the spacing. Skin movement and time will naturally reduce it later.
Design for the Placement, Not Just the Idea
Where the tattoo goes matters just as much as the design itself.
Best placements for tiny tattoos:
- Wrist (side or inner)
- Ankle
- Collarbone
- Behind the ear
- Finger sides (with very simple designs)
Areas with lots of movement or friction need extra-simple designs.
Always ask:
👉 Will this still be readable on this part of the body in five years?
Test Your Design Before Finalizing
Before committing, test the design at real size.
Try this:
- Print the design at actual tattoo size
- Draw it on skin with a fine pen
- Step back and look from arm’s length
If details disappear, simplify again.
A great rule:
If it needs explaining, it’s too complicated.
Keep Shading Minimal or Skip It Entirely
Shading in tiny tattoos can easily turn muddy.
Better alternatives:
- Solid outlines only
- Single-dot accents
- Open shapes instead of filled ones

If you do use shading, keep it very light and very limited.
Think Long-Term, Not Just First-Day Photos
Tiny tattoos often look amazing right after they’re done. The real test is how they age.
Design with:
- Clear silhouettes
- Balanced proportions
- Strong contrast against skin tone
A tattoo that’s readable across the room will always outperform one that only looks good up close.
Final Takeaway: Small Can Still Be Powerful
Tiny tattoos aren’t about squeezing in detail—they’re about clarity, intention, and restraint. When you focus on clean lines, smart spacing, and simple shapes, your designs stay crisp and noticeable long after the ink settles.
Save this guide for later, sketch a few designs today, and start creating tiny tattoos that truly stand the test of time.

Leave a Reply