

Celtic cross tattoos carry deep meaning tied to heritage, faith, and personal strength. Many people choose these designs to honor ancestry, mark a life chapter, or wear spiritual pride in a visible, lasting way. From simple linework to bold knot-filled pieces, Celtic crosses adapt well to different budgets, placements, and styles. This guide shares practical ideas you can actually use, whether you want a small starter tattoo or a larger statement piece planned over time.
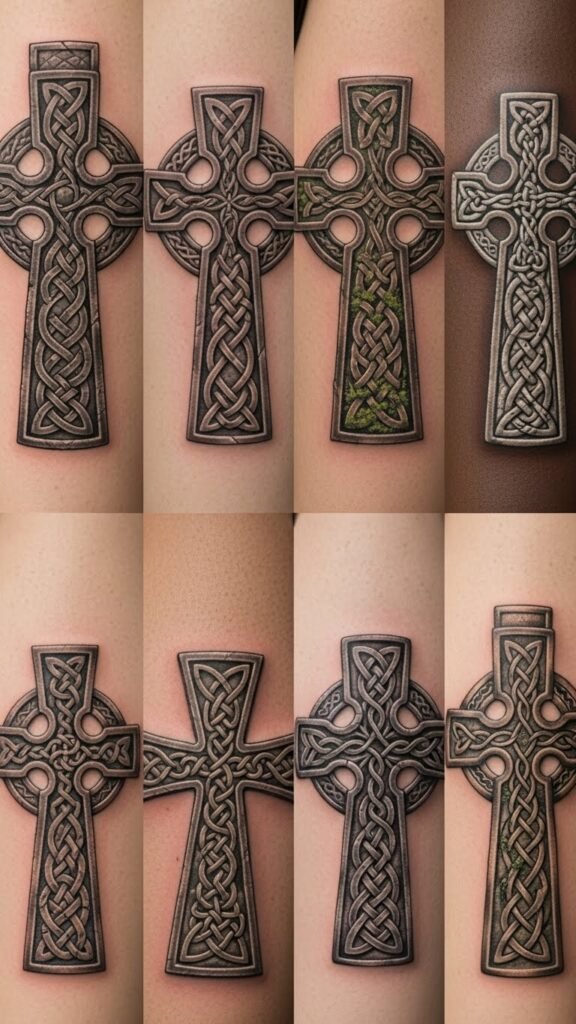
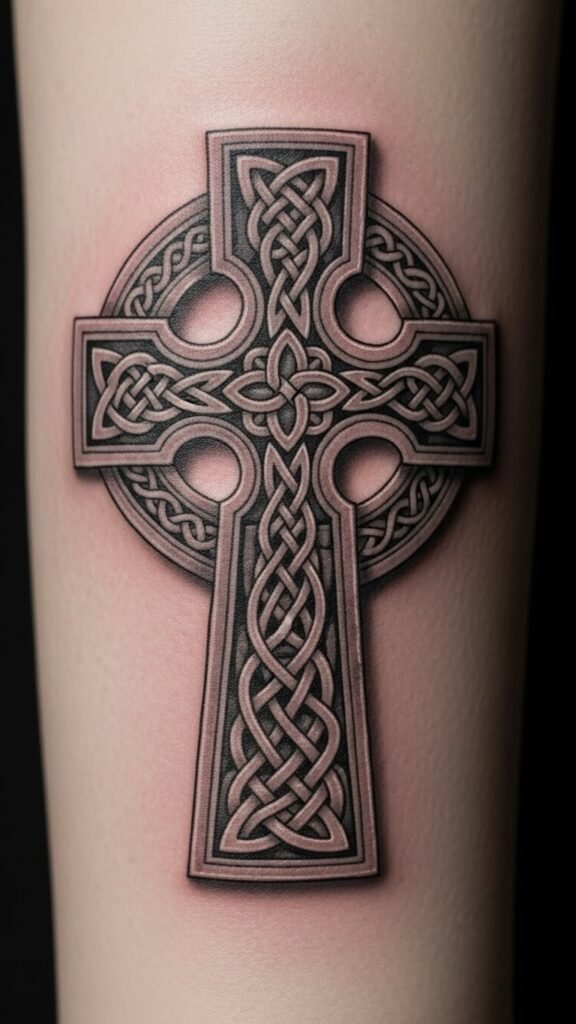
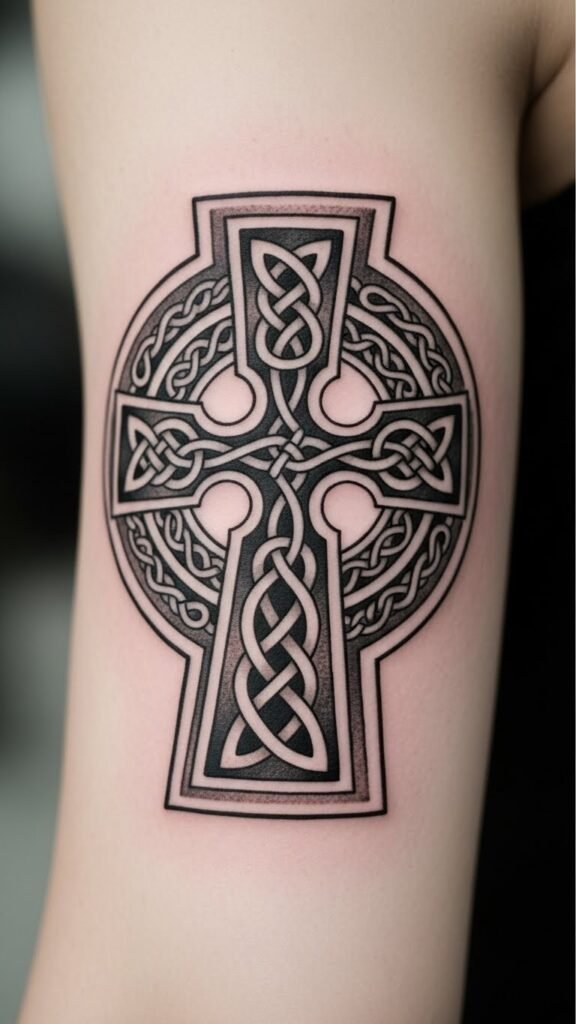
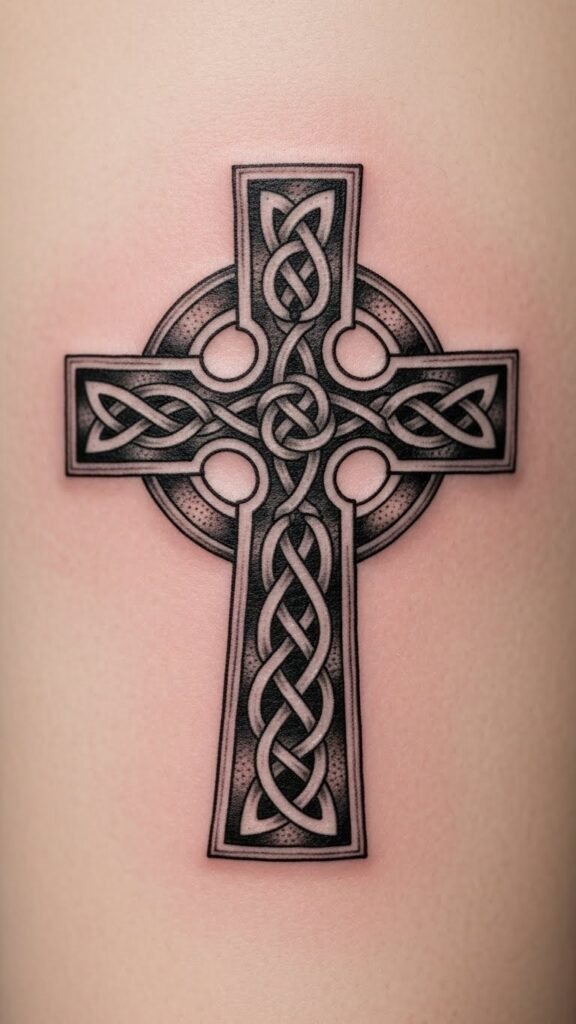
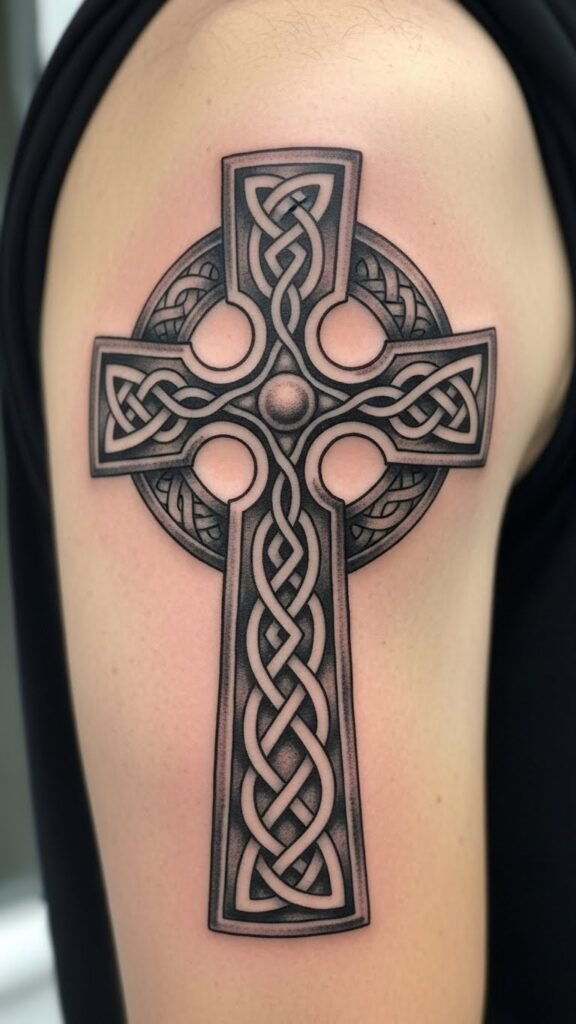
1. Stone-Carved Celtic Cross
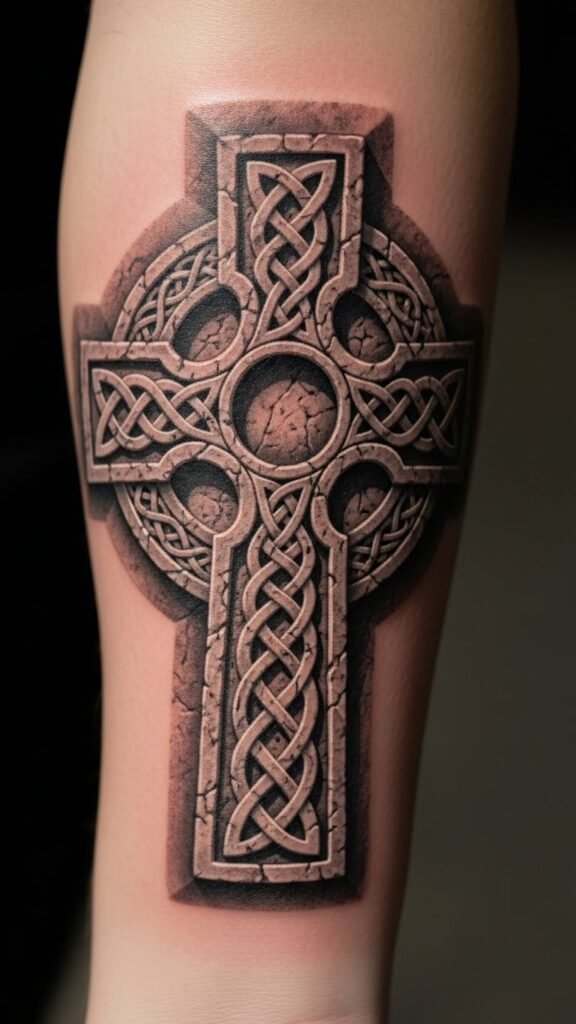
A stone-carved Celtic cross looks timeless and grounded. This style mimics old grave markers and church carvings. It works well in black and gray, which keeps sessions shorter and more affordable. Ask your artist to use soft shading instead of heavy contrast. That saves time and lowers cost.
This design fits nicely on forearms, calves, or upper arms. If budget is tight, start with the cross shape only. Knot details can always be added later. Many artists plan this in stages without charging extra for redesigns.
Keep lines slightly thicker than ultra-thin styles. Thicker lines age better and reduce future touch-ups. A simple stone texture gives depth without crowding the skin. This option is ideal if you want something meaningful without going overly complex.
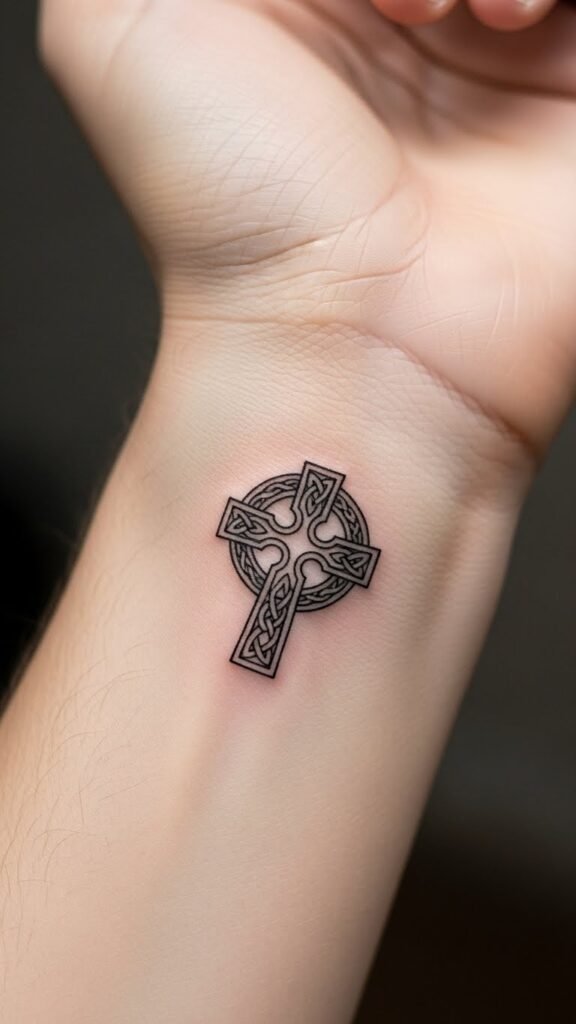
2. Classic Knotwork Cross
Knotwork crosses focus on endless loops with no clear start or end. They symbolize continuity and faith. This style suits people who enjoy clean structure and balance. It also works well at smaller sizes, which helps control pricing.
To save money, skip inner shading and stick to solid black lines. Many artists can stencil this quickly, cutting down session time. Wrist, inner arm, or shoulder placements keep the design compact and readable.
If you want a personal touch, ask for one knot strand to be slightly thicker. It creates emphasis without extra ink work. This approach keeps the tattoo sharp and easy to maintain long term.
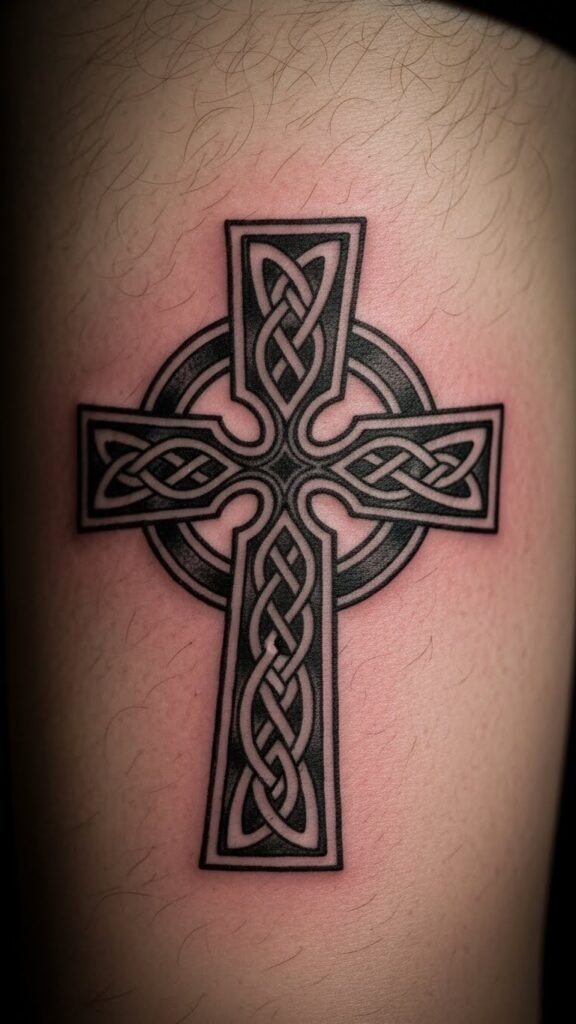
3. Bold Black Ink Cross
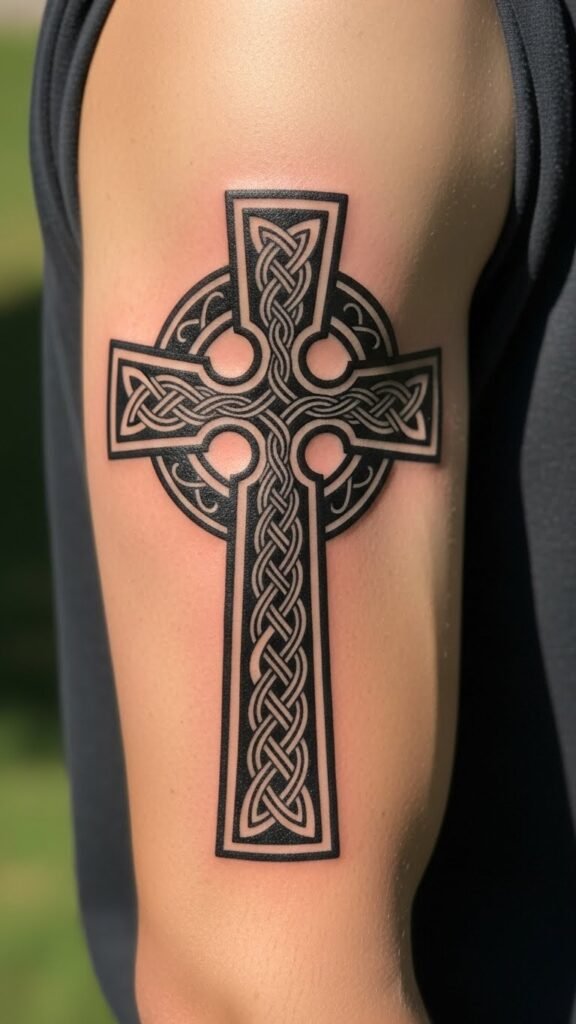
Bold black crosses make a strong visual statement. They age well and suit many skin tones. This style is often faster to complete, which lowers total cost. Solid fills also hide minor imperfections better than fine detail.
Choose a simple silhouette first. You can always layer knot accents later. Upper arms and backs of calves handle solid ink well and heal evenly.
Ask your artist about negative space. Leaving small skin gaps adds interest without extra ink. This keeps the design powerful and readable from a distance.
4. Minimal Line Celtic Cross
Minimal line crosses appeal to first-time tattoo clients. Thin outlines cost less and heal faster. This style suits wrists, ankles, or behind the arm.
Use a reference image with clear proportions. That saves design time. Avoid ultra-thin lines if possible. Slightly thicker lines hold better over time.
Minimal designs pair well with future additions. You can add knot circles or shading later without reworking the entire piece.
5. Ancient Script Border Cross
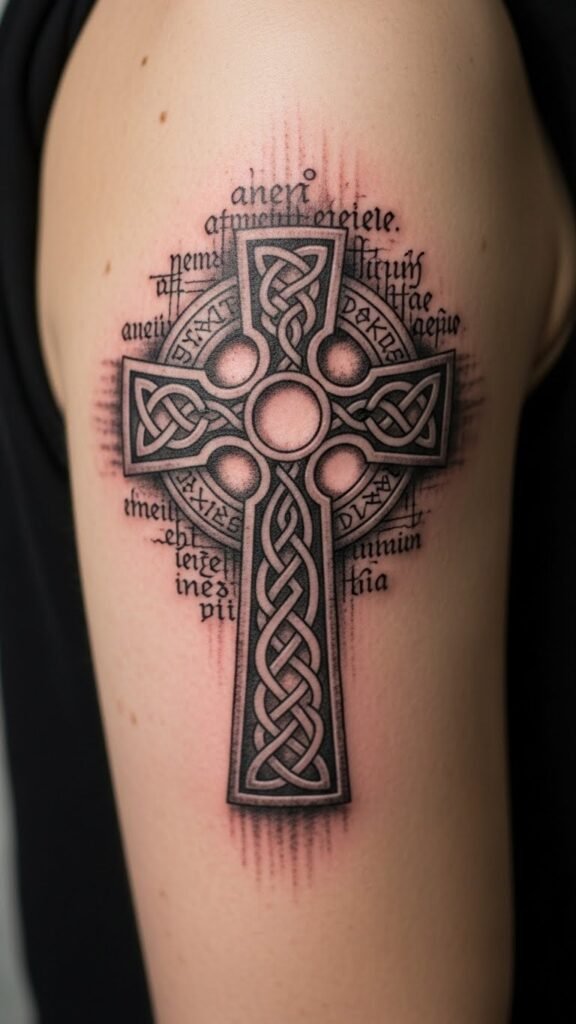
Adding a script-style border gives the cross a historic feel. Keep the script abstract rather than readable to avoid spelling issues.
This works well on shoulders or upper back areas. To save cost, limit the script to the outer ring only.
Abstract patterns still give depth while staying budget-friendly and flexible.
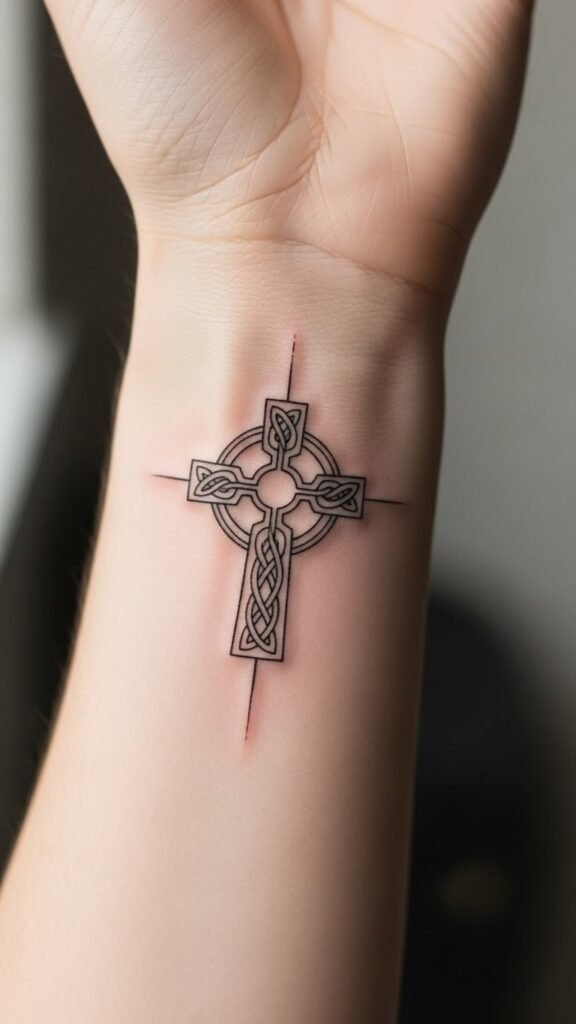
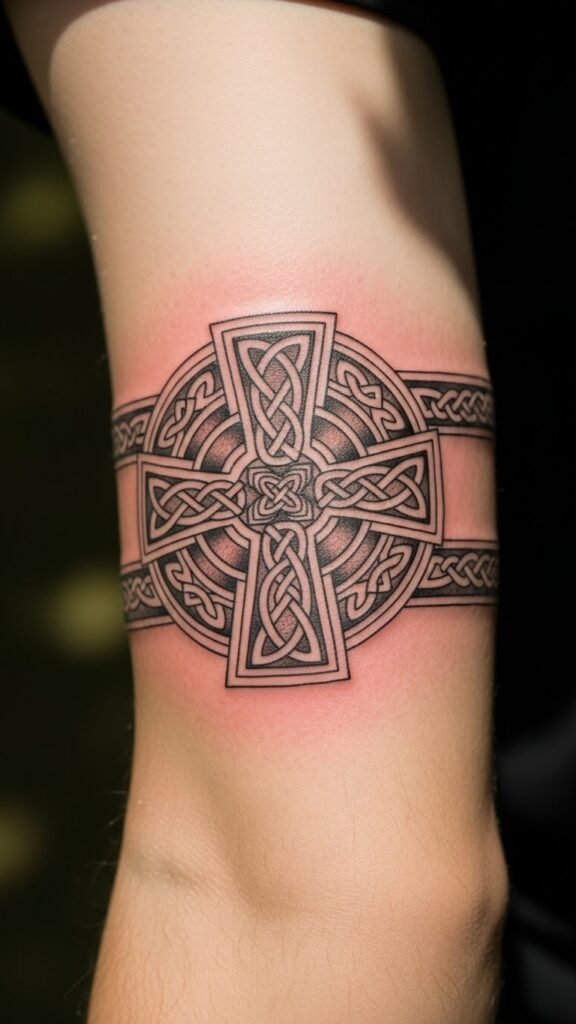
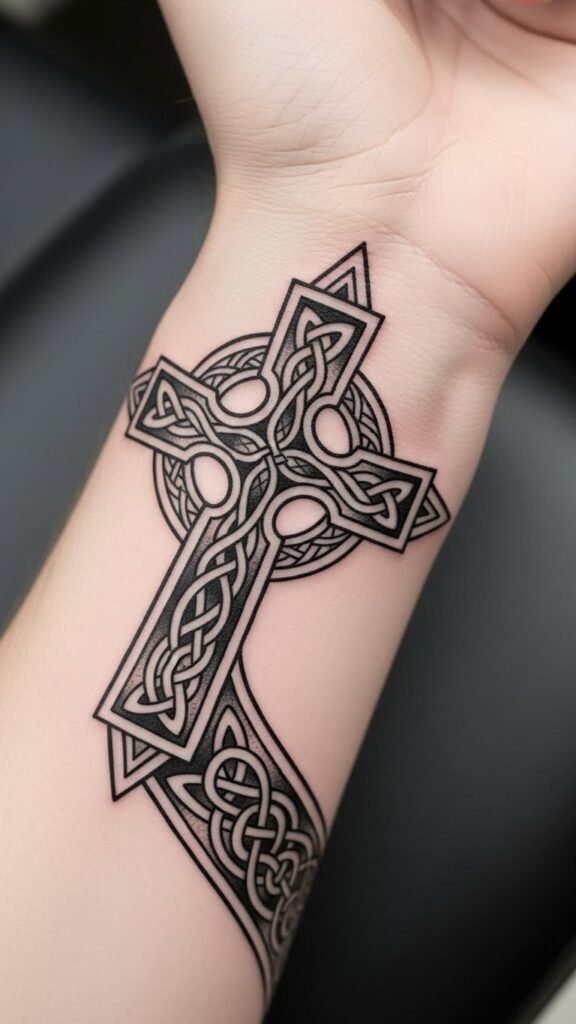
6. Celtic Cross With Circle Ring
The circle ring adds balance and unity. This design works well across sizes. Small versions suit wrists, while larger ones fit chests or backs.
Stick to clean outlines first. Shading can come later if desired. This staged approach spreads cost over time.
7. Weathered Iron Cross
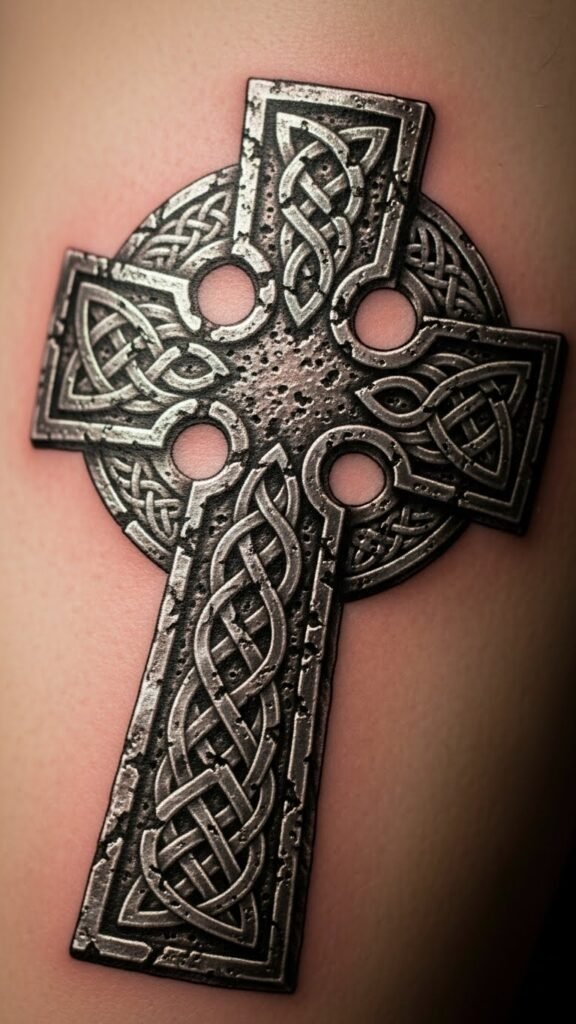
Iron textures give strength and grit. Black and gray shading keeps sessions shorter than full color.
Choose limited highlights to avoid long sessions. This style suits forearms and shoulders well.
8. Cross With Subtle Shadows
Soft shadows add dimension without heavy detail. Ask for light gradients instead of dense fills.
This keeps healing smooth and prices manageable.
9. Small Ankle Celtic Cross
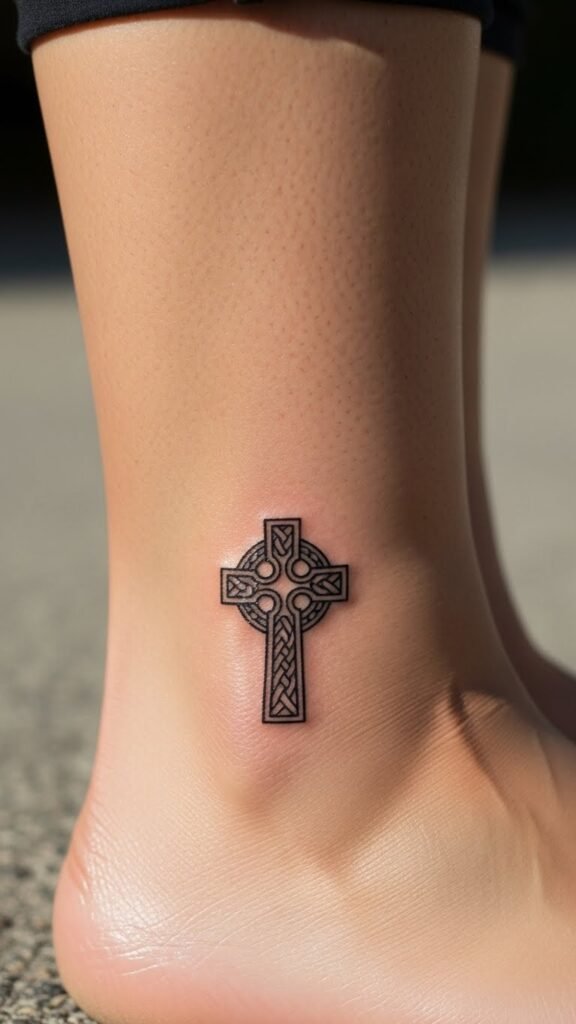
Ankle tattoos work well for compact crosses. Keep designs simple for better aging.
Small tattoos cost less and heal faster. Perfect for meaningful but low-commitment placement.
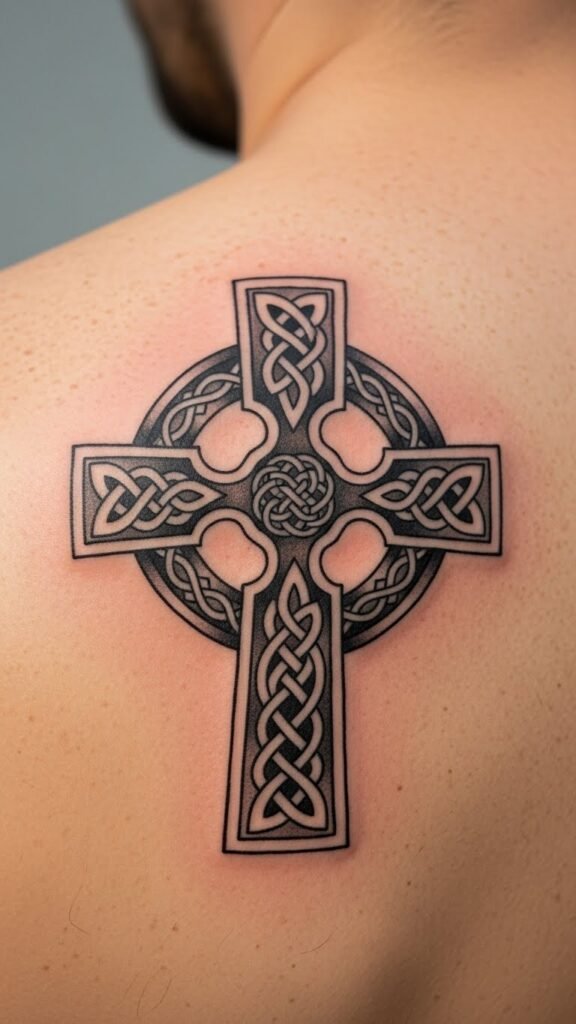
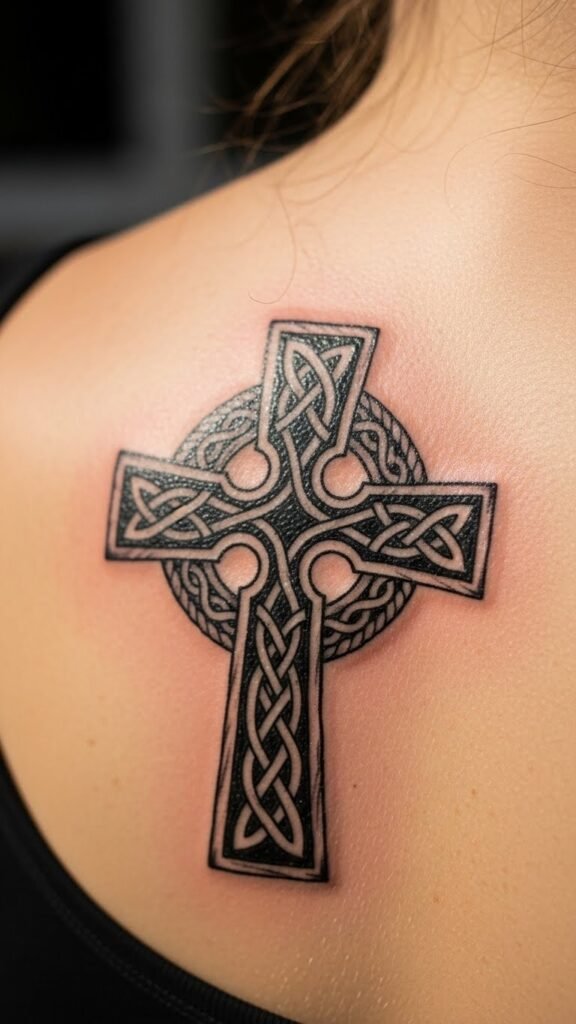
10. Shoulder Blade Cross
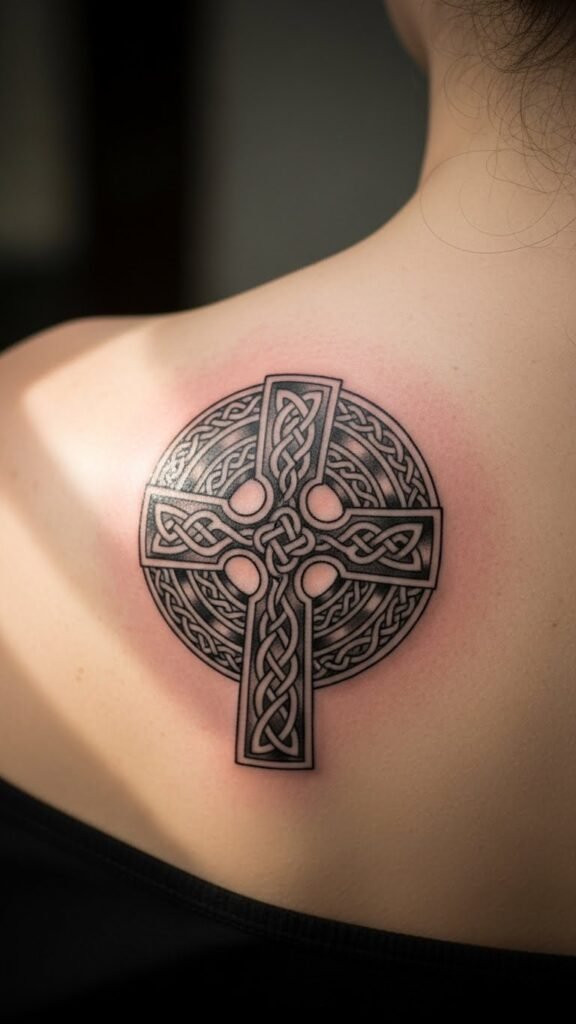
This placement allows moderate size without full-back pricing. Keep knotwork focused in the center to control detail.
11. Chest-Centered Celtic Cross
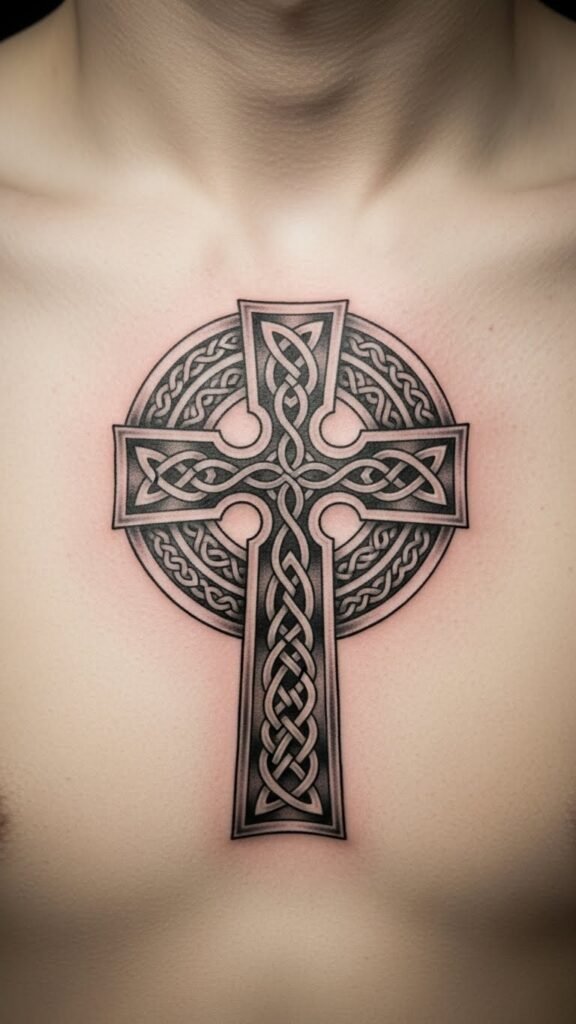
Chest placement feels personal and symbolic. Choose strong outlines to maintain clarity.
Start mid-size and expand later if desired.
12. Arm Band Cross Accent
Using the cross as an accent saves time and cost. Keep bands simple for smooth healing.
13. Cross With Rope Knots
Rope knots feel grounded and rustic. They require less precision than fine knot grids.
14. Vertical Spine Cross
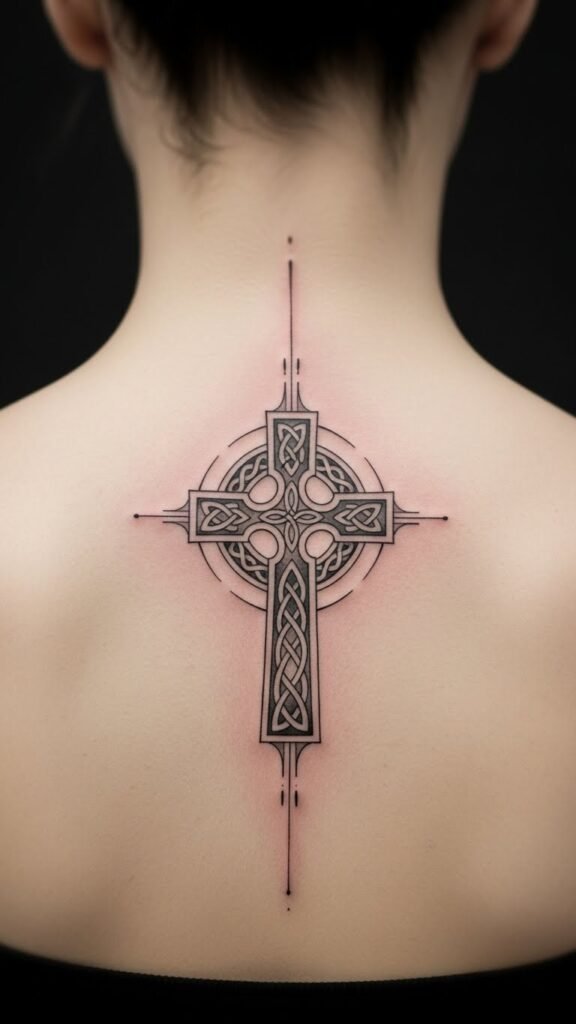
Spine designs look striking with simple shapes. Keep detail low for comfort and cost.
15. Cross With Dotwork Texture
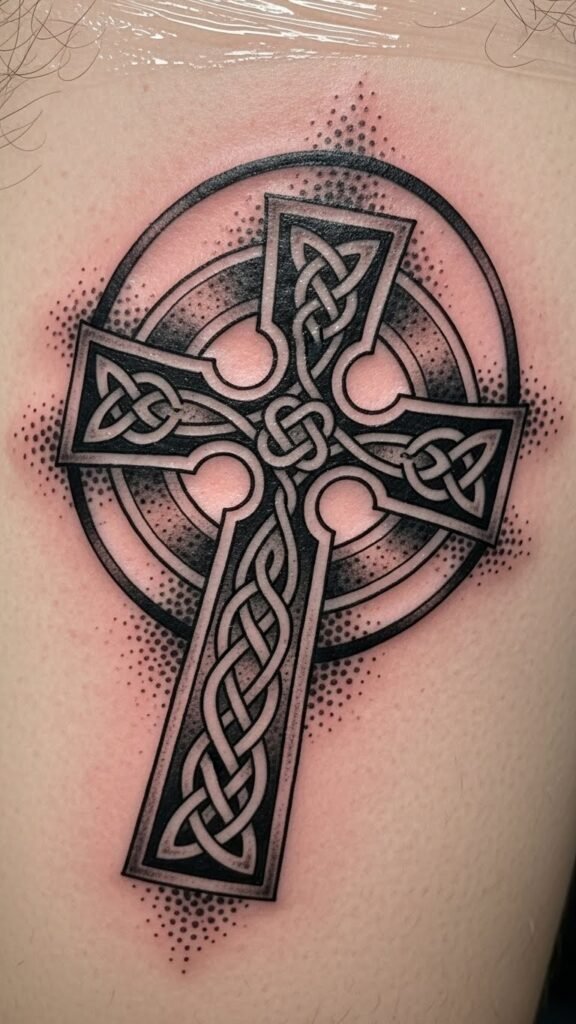
Dotwork adds depth without heavy fills. Limit dots to small areas to reduce time.
16. Wrist Wrap Celtic Cross
Wrist wraps stay compact. Avoid overcrowding for clean healing.
17. Cross With Leaf Accents
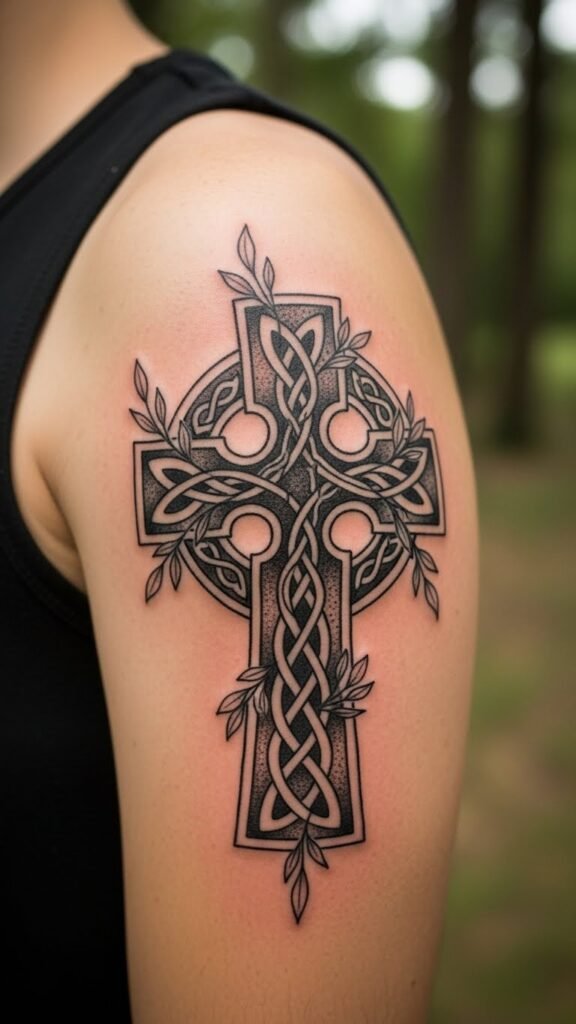
Leaves soften the design and allow simple additions later.
18. Cross With Broken Stone Effect
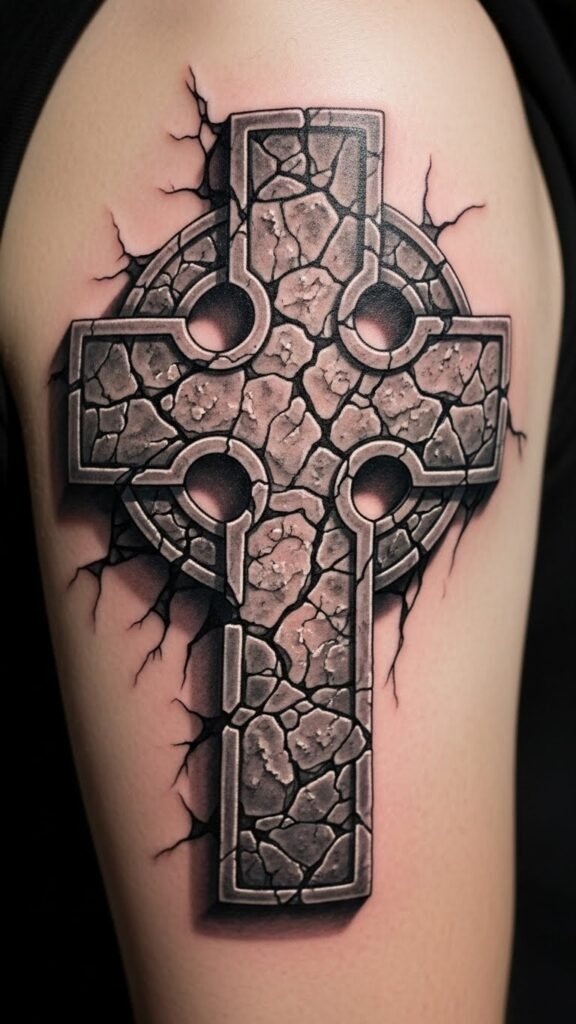
Cracks add character without full shading. Great for budget control.
19. Inner Arm Cross

Inner arm placements heal well and suit moderate detail.
20. Cross With Sun Ring
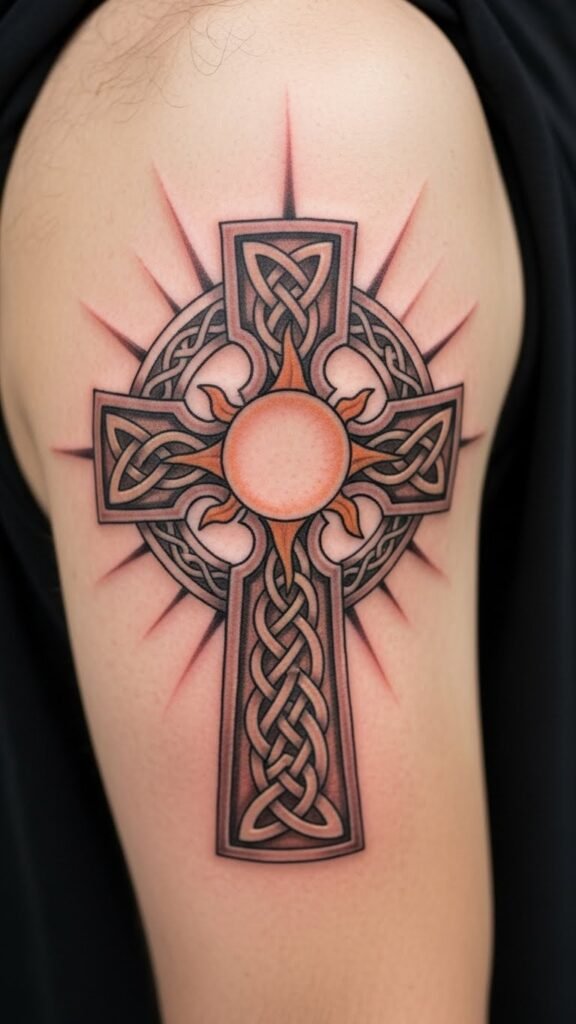
Sun rings add meaning while staying simple.
21. Cross With Border Lines
Borders define the piece without extra fill.
22. Compact Hand Cross
Small hand designs should stay bold and simple.
23. Cross With Shield Shape
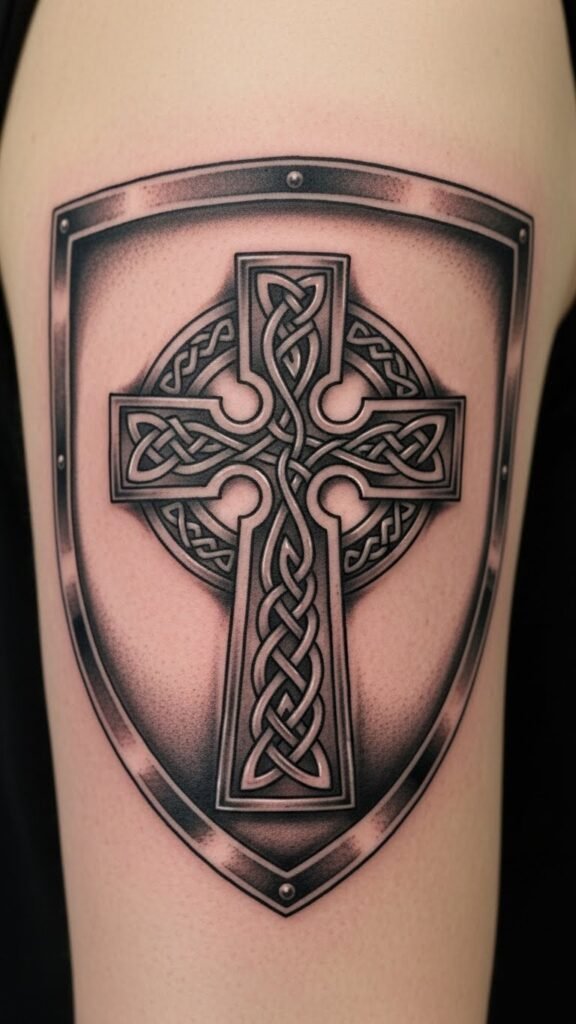
Shield shapes add strength without complex detail.
24. Cross With Negative Space
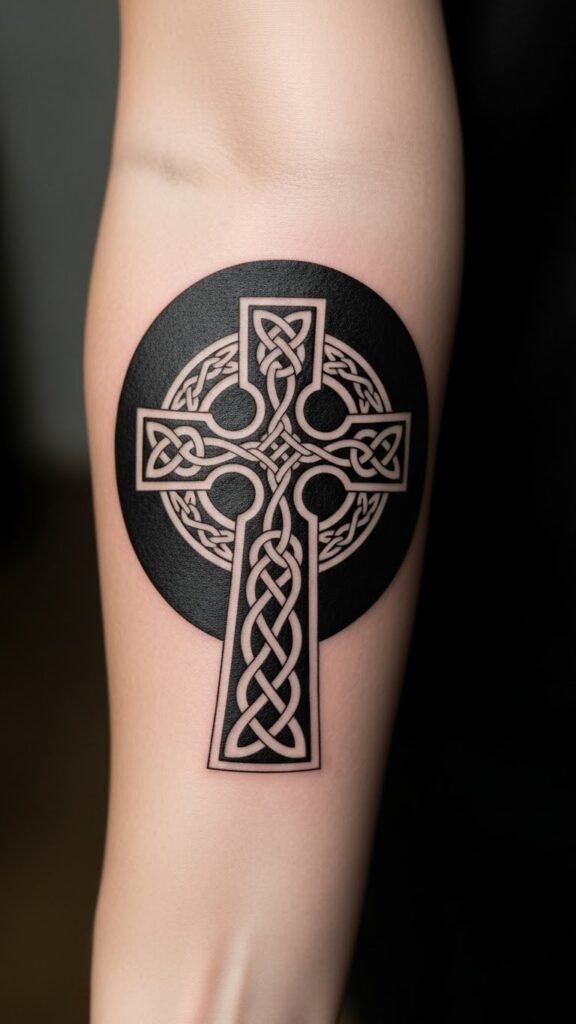
Negative space saves ink and keeps designs sharp.
25. Cross With Single Knot Focus
One focal knot keeps the design meaningful and affordable.
26. Classic Heritage Cross
This timeless option balances meaning and simplicity. It works at any size and suits phased tattoo plans.
Conclusion
Celtic cross tattoos offer a powerful way to express faith, heritage, and inner strength. With smart design choices, clear planning, and simple styling, you can create a meaningful piece without overspending. Start small, choose strong lines, and build over time. Save the ideas that speak to you and use them as a guide when you meet your artist.

Leave a Reply