

There’s something magical about a Christmas candle—the warm glow, the soft light, and the cozy holiday feeling it brings. If you want to capture that charm in a tattoo design, you’re in the right place. A glowing candle tattoo can feel peaceful, symbolic, and beautifully nostalgic. And the best part? You can easily sketch one with just a few simple techniques.
In this guide, you’ll learn how to sketch a Christmas candle tattoo that looks bright, inviting, and full of seasonal warmth. Let’s dive in!
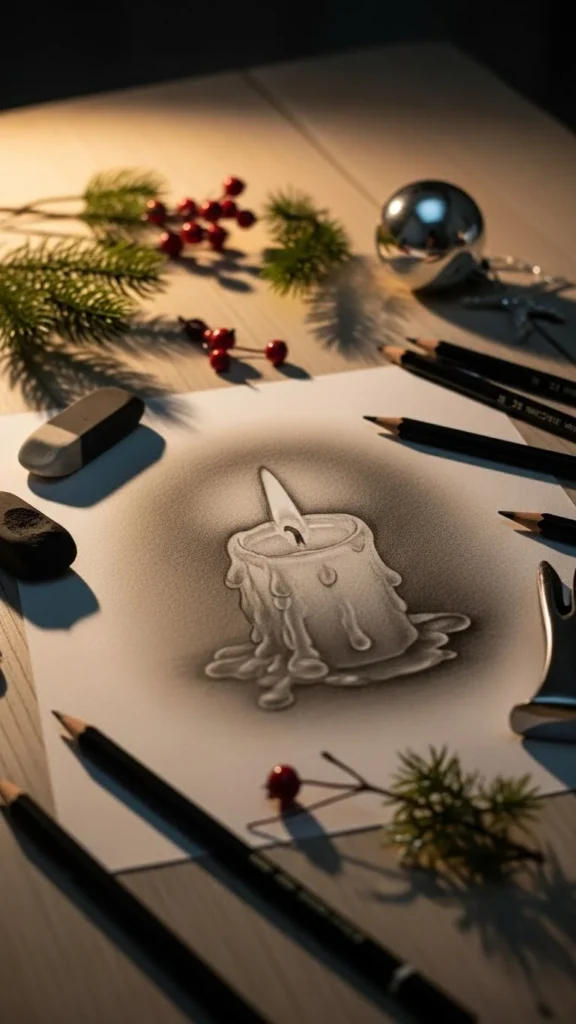
Start With the Candle Shape
Before you jump into shading or glow effects, begin with the basic candle form. A clean, simple outline makes the rest of the drawing much easier.
- Sketch a tall or medium-sized cylindrical shape.
- Keep the edges slightly uneven to mimic melted wax.
- Add a gentle curve at the top where the flame will sit.
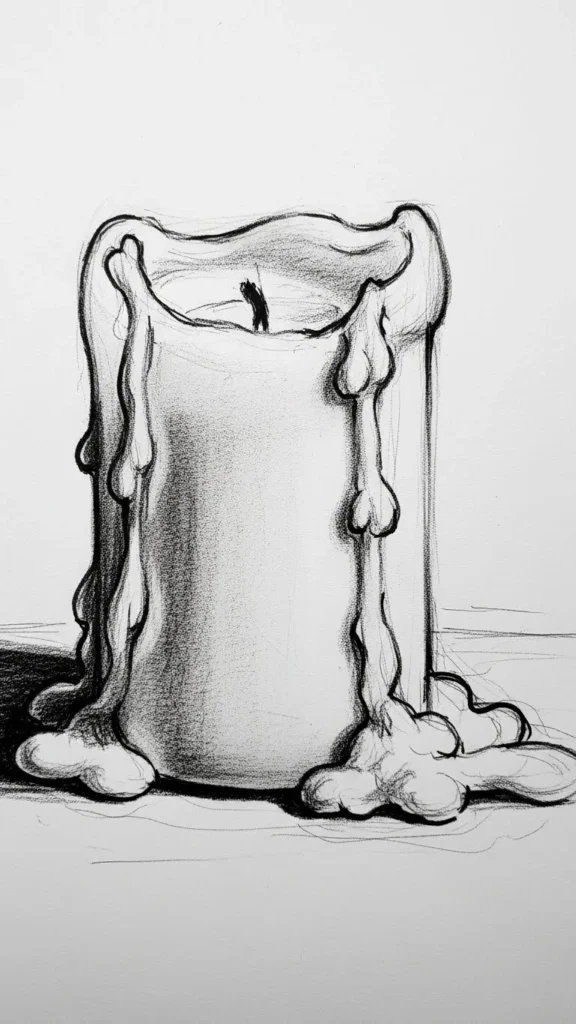
This step sets the foundation. Don’t worry about perfection. A little wobble gives the candle personality.
Add a Realistic Flame
The flame is the heart of your tattoo design—it’s what makes the piece feel alive. Focus on keeping it delicate and airy.
- Draw a teardrop shape that narrows toward the top.
- Make the lines soft instead of sharp.
- Add a smaller inner flame to show depth.
Use light strokes so you can adjust the shape as needed. A flame rarely looks perfectly symmetrical, and that’s a good thing.
Create the Glowing Effect
This is where your Christmas candle starts to feel enchanting. The glow is what gives the tattoo that soft holiday magic.
- Shade lightly around the flame to show a warm light halo.
- Blend outward in a circular motion to keep the glow believable.
- Use smoother transitions instead of harsh shadows.
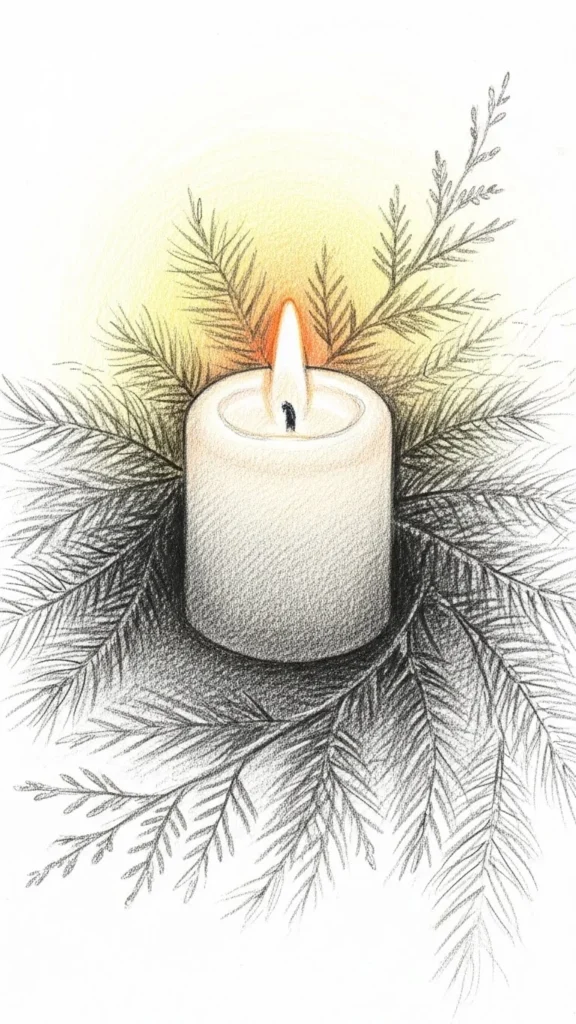
You can increase the brightness by keeping the center of the flame almost untouched—a tiny bright spot helps sell that glowing effect.
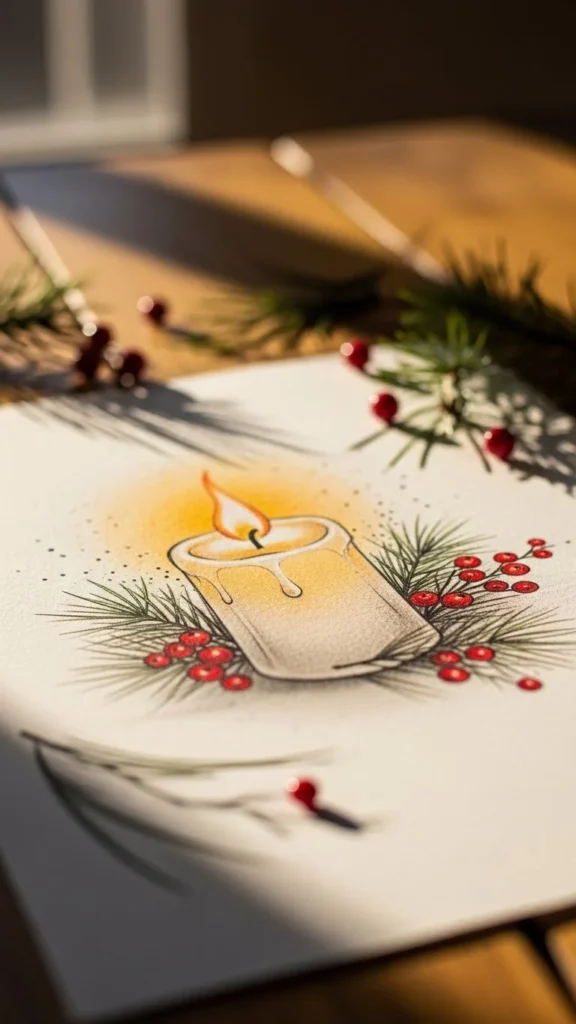
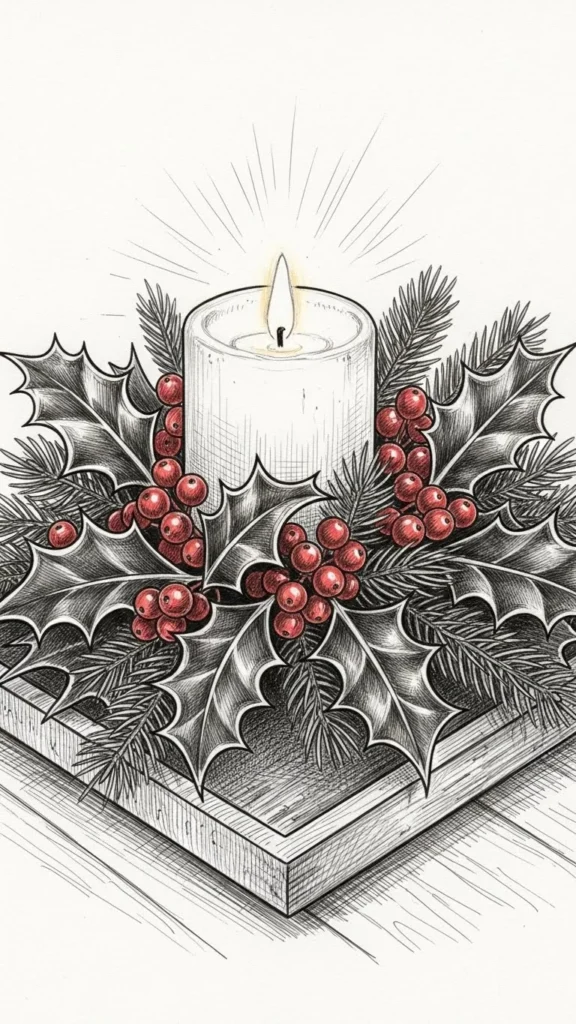
Add Holiday Details for Charm
To give your candle a festive feel, include Christmas-inspired accents around the base or background.
Try adding:
- Sprigs of evergreen
- Holly leaves
- Small berries
- A ribbon tied around the candle
- Snow-like texture at the bottom
These additions make the tattoo feel more seasonally themed while still keeping it clean and elegant.
Use light sketching at first so you can rearrange the accessories until the composition feels balanced.
Build Soft Shadows and Texture
Your candle needs a bit of dimension to look realistic. Shading helps the wax appear thick and slightly translucent.
- Darken one side of the candle to create depth.
- Add soft vertical lines to mimic wax drips.
- Keep the shadows smooth to match the gentle glow.
For added realism, shade underneath the candle so it doesn’t feel like it’s floating on the page.
Blend the Light Into the Background
To enhance your soft glow, the background should complement—not compete with—the candle’s brightness.
You can:
- Add a faint gradient behind the flame.
- Use circular blending around the candle to show the light spreading.
- Avoid adding dark, heavy elements too close to the flame.
This subtle background work is what makes the candle look like it’s truly glowing rather than just sitting on the page.
Finalize With Clean Lines and Gentle Highlights
Once you’re happy with the composition, go back through your sketch and refine the details.
- Use a fine pen or darker pencil to outline key shapes.
- Add tiny highlights along the wax edges for shine.
- Emphasize the flame’s inner glow with soft eraser touches.
Take your time during this final pass. Small details make a big difference in the finished tattoo design.
Your Holiday Candle Tattoo Is Ready!
A Christmas candle tattoo is more than a drawing—it’s a warm symbol of peace, memory, and winter charm. With soft light, gentle shading, and festive details, your design will glow beautifully on paper or skin.
Save this tutorial so you can revisit it anytime you want to sketch another holiday-inspired tattoo!

Leave a Reply