

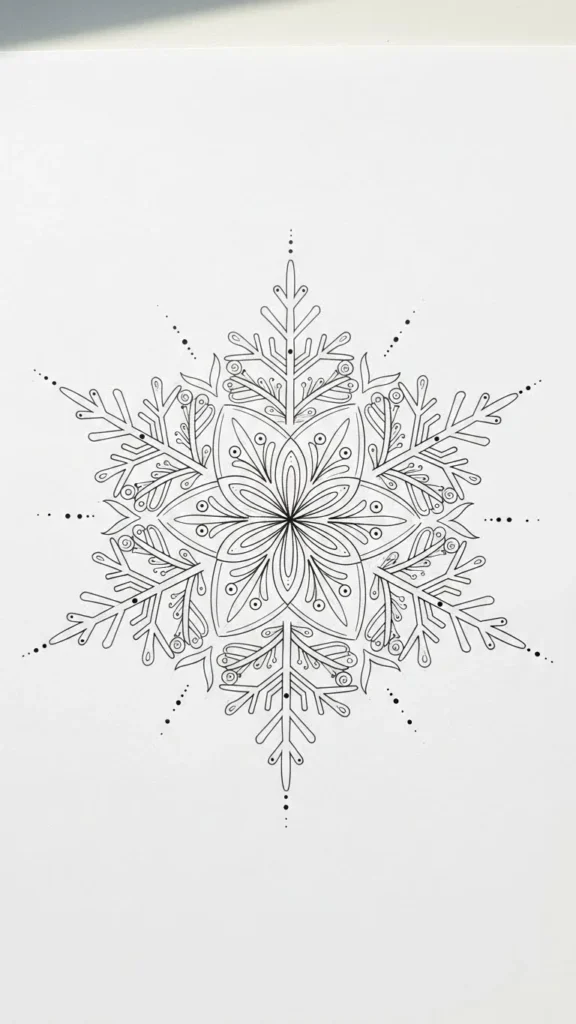
Snowflake mandala tattoos feel magical, balanced, and calming all at once. They blend the natural beauty of winter with the symmetry of mandala art, creating designs that look detailed without feeling overwhelming. The best part? You don’t need to be a professional artist to draw one. With a few simple steps and smart tricks, you can create a snowflake mandala tattoo that looks polished and intentional.
Whether you’re sketching for fun, preparing tattoo flash, or planning your first piece, this guide walks you through the process in a relaxed, beginner-friendly way.
Start With the Right Mindset and Tools
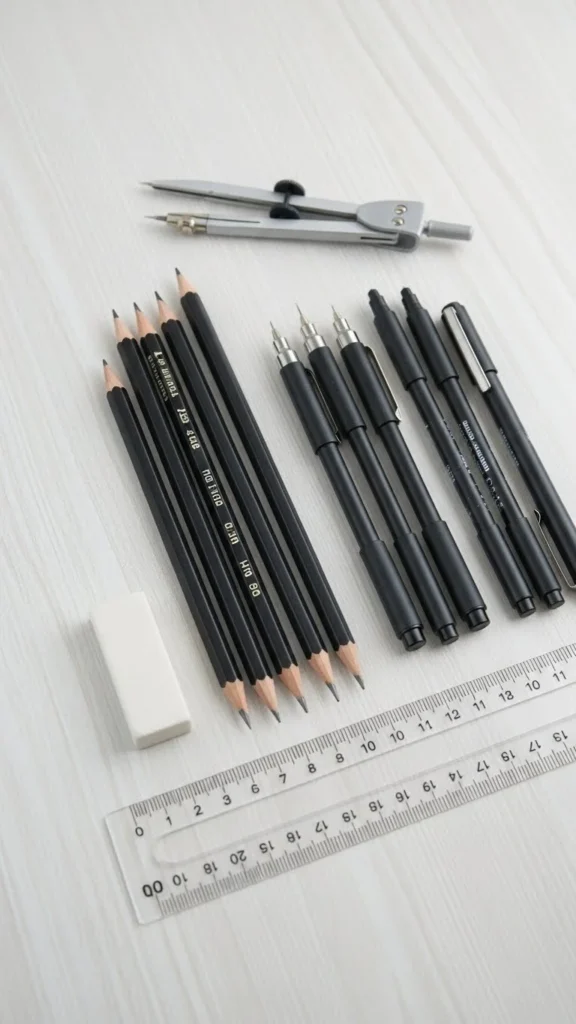
Before you draw anything, set yourself up for success. Snowflake mandalas are all about balance, not perfection.
You’ll need:
- Plain white paper or a sketchbook
- A pencil and eraser
- A fine liner or gel pen
- A ruler or compass (optional but helpful)
Helpful tip: Light pencil lines first. You’ll erase most of them later.
Take a deep breath. This isn’t about rushing. Slow drawing actually makes mandalas easier.
Create a Simple Snowflake Base
Every snowflake mandala starts with a basic structure.
Here’s the easiest method:
- Draw a small circle in the center of your page
- Lightly divide the circle into 6 or 8 equal sections
- Extend those lines outward like spokes
These lines act as guides. They keep your design symmetrical without constant measuring.
Quick tip:
- Six sections feel classic and natural
- Eight sections feel more decorative and bold
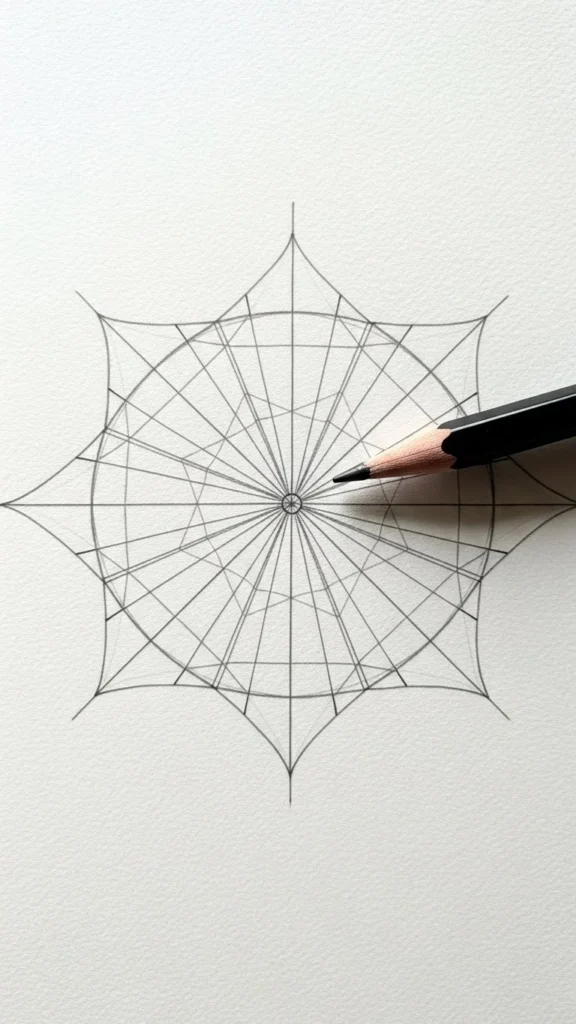
Don’t worry if lines aren’t perfect. Tattoos often look better when they feel hand-drawn.
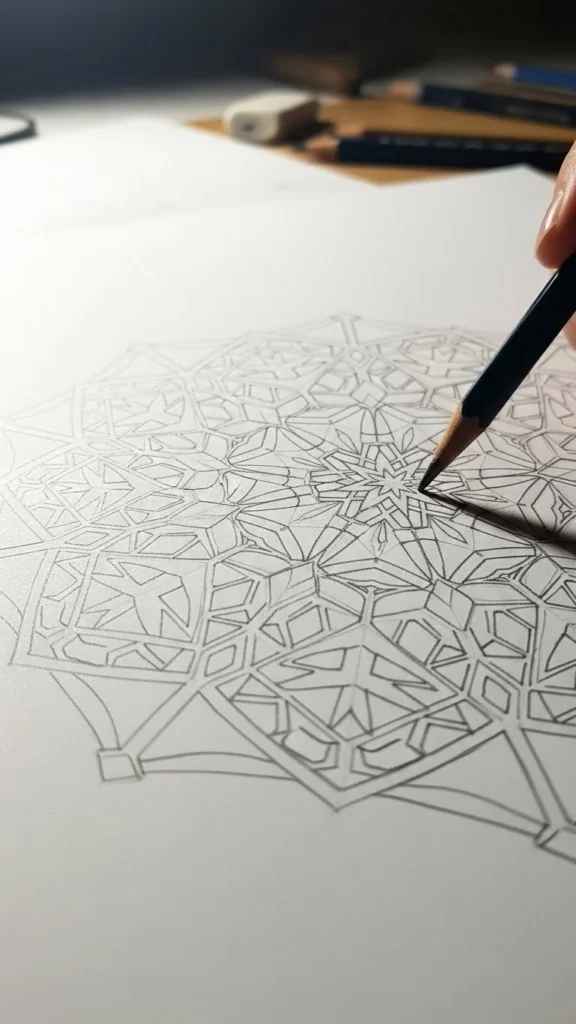
Build the Mandala Layer by Layer
Now the fun part begins. Think in rings, not details.
Start close to the center:
- Add tiny dots, petals, or teardrop shapes
- Repeat the same shape in every section
- Move outward slowly, one ring at a time
Common beginner shapes:
- Small triangles
- Curved petals
- Leaf-like strokes
- Simple dots
Rule to remember:
If you draw it once, repeat it everywhere.
This repetition is what makes the mandala feel intentional.
Add Snowflake Details Without Overcrowding
Snowflake mandalas look detailed, but they’re actually very controlled.
As you move outward:
- Increase shape size gradually
- Leave breathing room between rings
- Alternate solid shapes with open space
Ideas for snowflake-inspired details:
- Tiny icicle-like lines
- Frost-style dots near edges
- Soft scalloped curves
Avoid filling every space. Negative space is what keeps the design wearable as a tattoo.
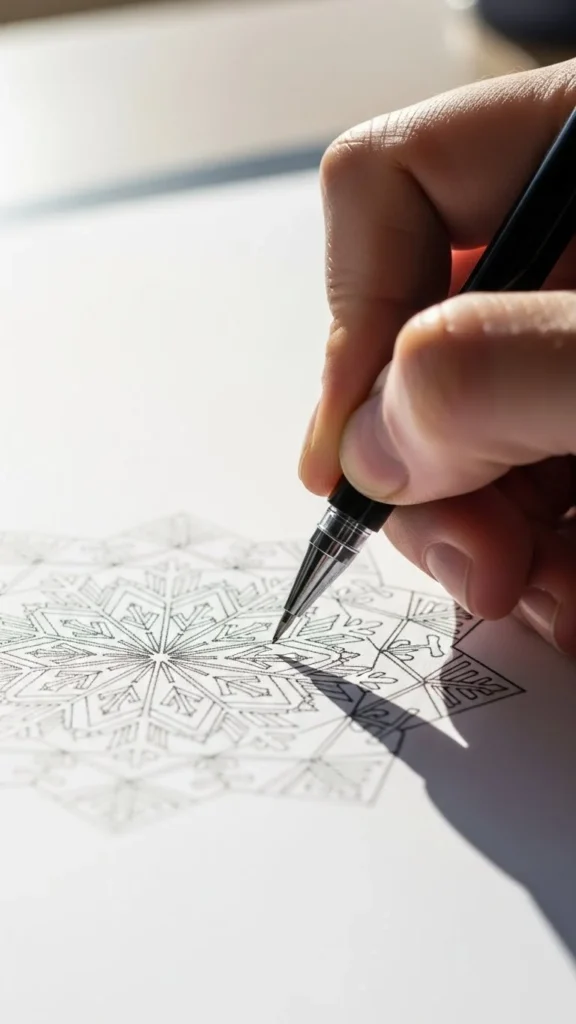
Ink Your Design With Confidence
Once you’re happy with the pencil sketch, it’s time to ink.
Steps for clean inking:
- Trace slowly with a fine liner
- Keep pressure light and steady
- Let ink dry before erasing pencil lines
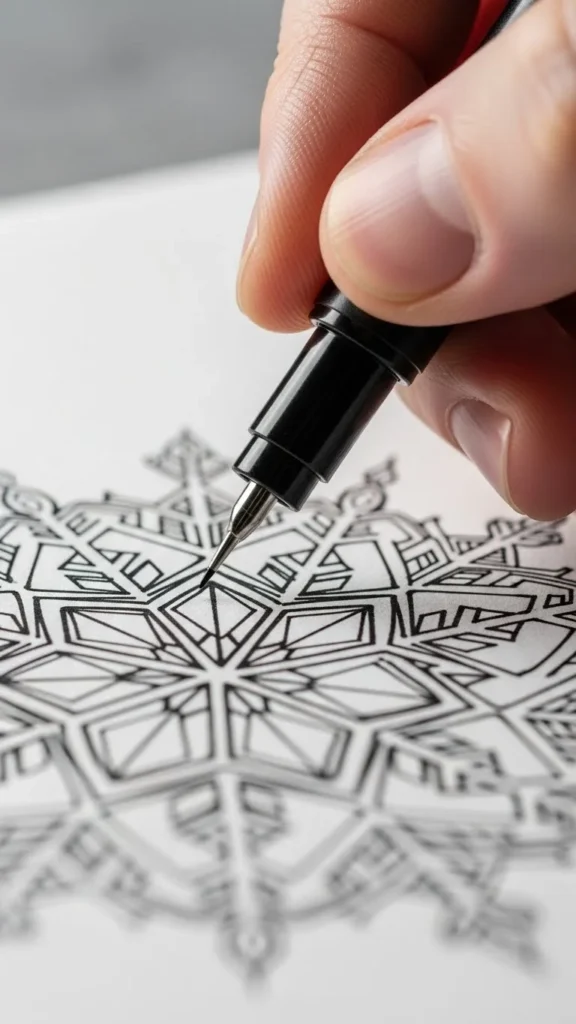
If a line goes slightly off, don’t panic. Slight imperfections add character, especially in mandala tattoos.
Customize It for Tattoo Placement
Before calling it finished, think about where this tattoo might live.
Adjust details based on placement:
- Smaller areas need bolder lines
- Larger areas allow finer detail
- Wrist and ankle designs benefit from simpler edges
You can also:
- Thicken outer lines for durability
- Add subtle dot shading
- Leave the center more open for balance
This step makes your drawing tattoo-ready, not just pretty on paper.
Final Touches That Elevate the Design
Last step: polish without overworking.
Try one or two of these:
- Add micro dots between outer points
- Slightly thicken the main snowflake arms
- Clean edges with an eraser
Then stop. Over-editing is the fastest way to lose the magic.
Takeaway
Drawing a snowflake mandala tattoo doesn’t require advanced skills—just patience, repetition, and trust in simple shapes. Start small, work in layers, and let symmetry do the heavy lifting. Each design you draw will feel easier than the last.
Save this guide for later, grab your pen, and start creating your own winter-inspired mandala today.

Leave a Reply