

There’s something quietly powerful about a tiny mountain tattoo. Even at its smallest size, a mountain can represent resilience, personal growth, and the strength to keep going—no matter how steep the climb feels. Whether you’re sketching ideas for your first tattoo or refining a minimalist design, learning how to draw tiny mountain tattoos helps you turn big meaning into a clean, simple symbol.
In this guide, we’ll walk through simple steps, design tips, and creative ideas so you can draw tiny mountain tattoos that feel intentional, balanced, and deeply meaningful.
Why Tiny Mountain Tattoos Carry So Much Meaning
Mountains have been symbolic for centuries. Even when reduced to a few lines, they still carry weight.
Tiny mountain tattoos often represent:
- Strength through challenges
- Stability and grounding
- Personal milestones or growth
- A reminder to stay steady during hard times
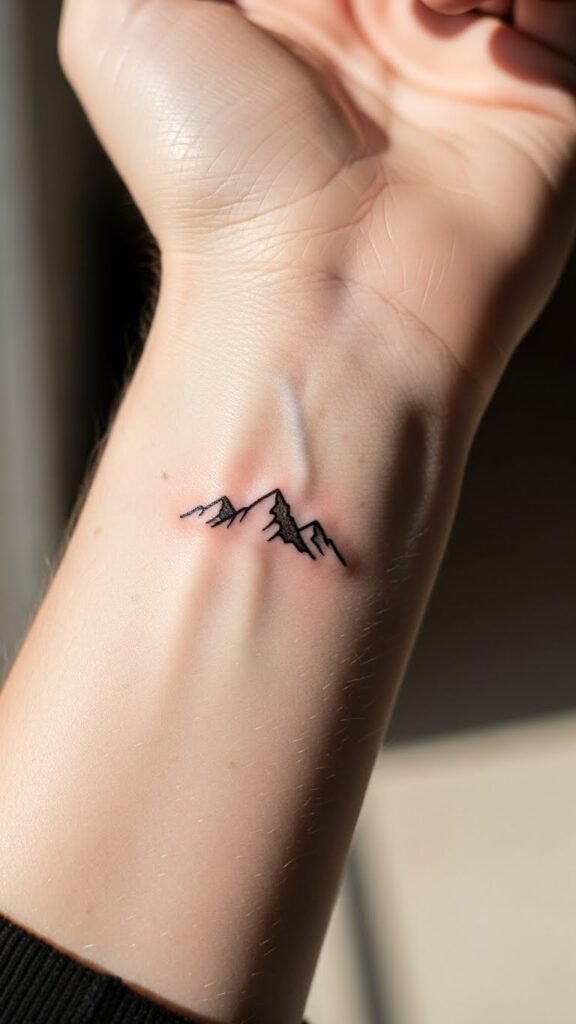
Their minimal size makes them perfect for subtle placements like wrists, ankles, behind the ear, or along the collarbone. The key is keeping the design clean so the message stays clear.
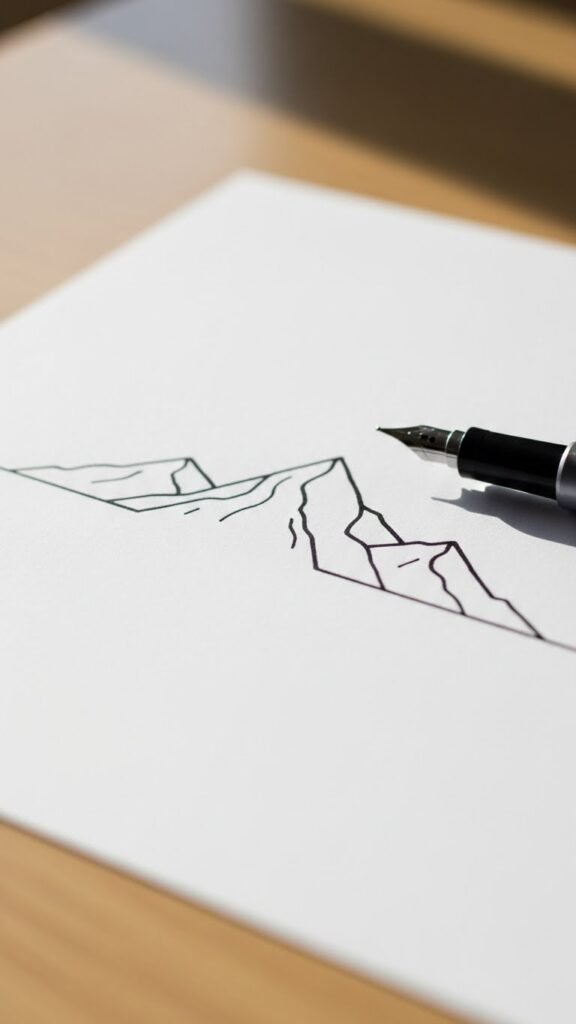
Start With the Simplest Mountain Shapes
When drawing tiny tattoos, simplicity is everything. Complex details can blur over time, especially at a small scale.
Begin with basic forms:
- Use triangles to sketch mountain peaks.
- Try two or three peaks instead of many.
- Keep lines light and adjustable at first.
A helpful trick is to draw the mountains slightly uneven. Perfect symmetry can feel stiff, while subtle variations make the design feel more natural.
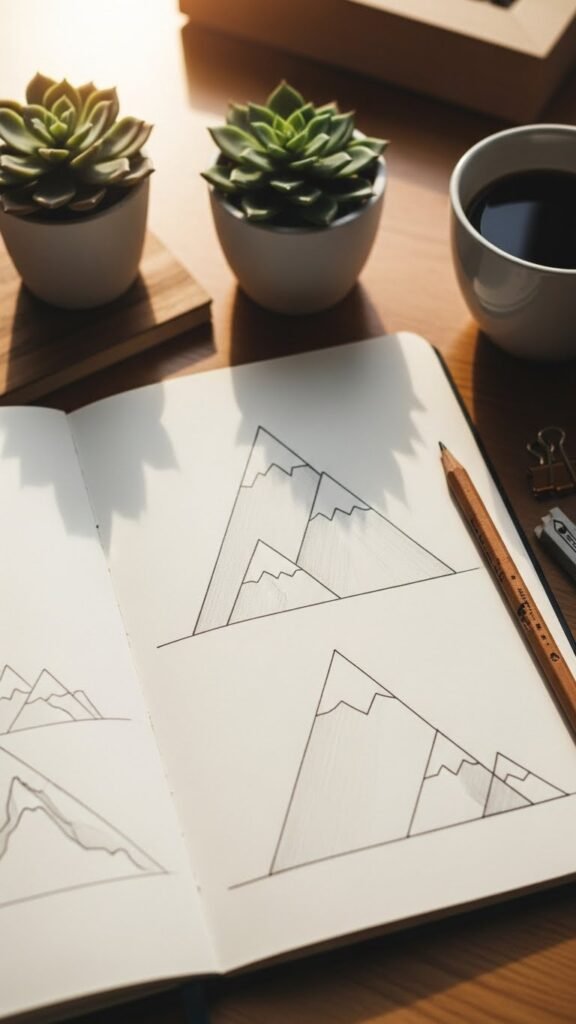
Refine Your Lines for a Clean Tattoo Look
Once the shape feels right, it’s time to refine.
Focus on:
- Consistent line weight for a polished finish
- Smooth, confident strokes instead of sketchy lines
- Removing unnecessary details
Tiny tattoos rely on clarity. If a line doesn’t add meaning or balance, it’s better to leave it out. Many strong mountain tattoos use just a single continuous line.
Tip: Practice tracing your final design slowly. This helps build muscle memory for smooth lines.
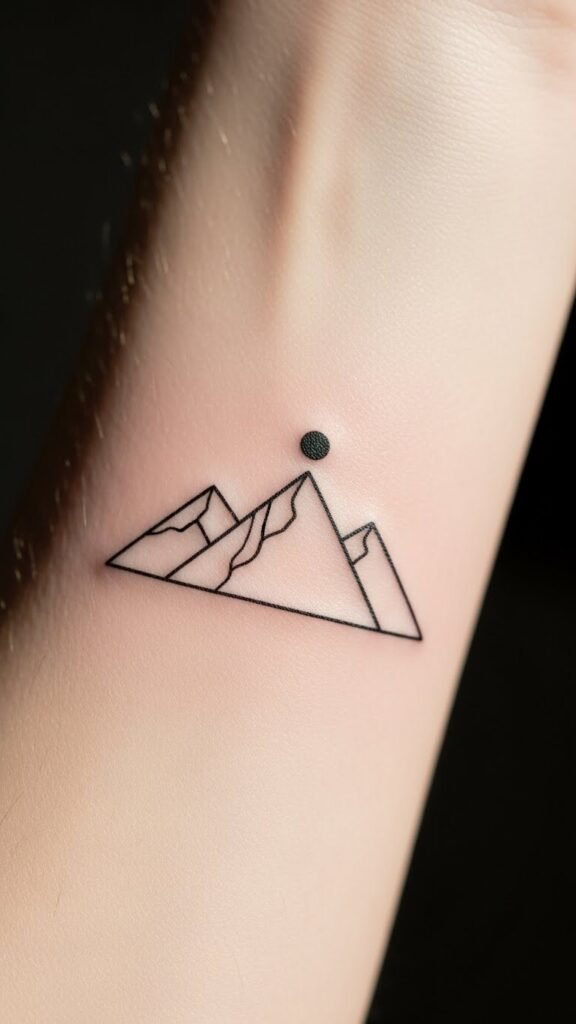
Add Subtle Details Without Overcrowding
You can add meaning without adding clutter. The goal is symbolism, not realism.
Consider small elements like:
- A tiny sun or moon above the peaks
- A single dot to represent a goal or destination
- A thin horizon line beneath the mountains
Keep these details very small and spaced out. If you squint and the design still reads clearly, you’re on the right track.
Choose a Size That Matches the Meaning
Tiny mountain tattoos work best when the size feels intentional.
Before finalizing:
- Draw the design at actual tattoo size
- Test it on paper, then on skin using a washable pen
- Check visibility from different angles
A design that looks great on paper might need simplification once it’s scaled down. Slightly thicker lines often age better while still keeping the minimalist feel.
Practice Placement While You Draw
Placement affects how the tattoo feels just as much as the design itself.
Popular spots for tiny mountain tattoos:
- Inner wrist
- Side of the finger
- Ankle or foot side
- Behind the arm
When drawing, imagine how the lines will follow the body’s natural curves. Straight designs can be gently angled to match the flow of the skin.
Common Mistakes to Avoid
Even simple designs can run into problems if you’re not careful.
Watch out for:
- Lines that are too thin and may fade
- Overloading the design with symbols
- Making peaks too sharp or cramped
- Forgetting how the tattoo will age
When in doubt, simplify again. Tiny tattoos almost always look better when they’re slightly less detailed than you think they should be.
Make the Design Personal
The strongest tattoos tell a personal story. Even a tiny mountain can reflect something meaningful.
Ideas to personalize your drawing:
- Base the peaks on a place that matters to you
- Use numbers or dots to mark an important moment
- Adjust the slope to feel more calm or more bold
Your mountain doesn’t need to be recognizable to anyone else. It just needs to feel right to you.
Final Thoughts
Drawing tiny mountain tattoos is all about balance—strong shapes, clean lines, and thoughtful details. With a little practice, you can create a design that feels both minimal and powerful.
Start small, refine often, and trust simple forms. Mountains don’t need to be large to represent strength.
Save this guide for later, grab your sketchbook, and start drawing your own tiny symbol of resilience today.

Leave a Reply