

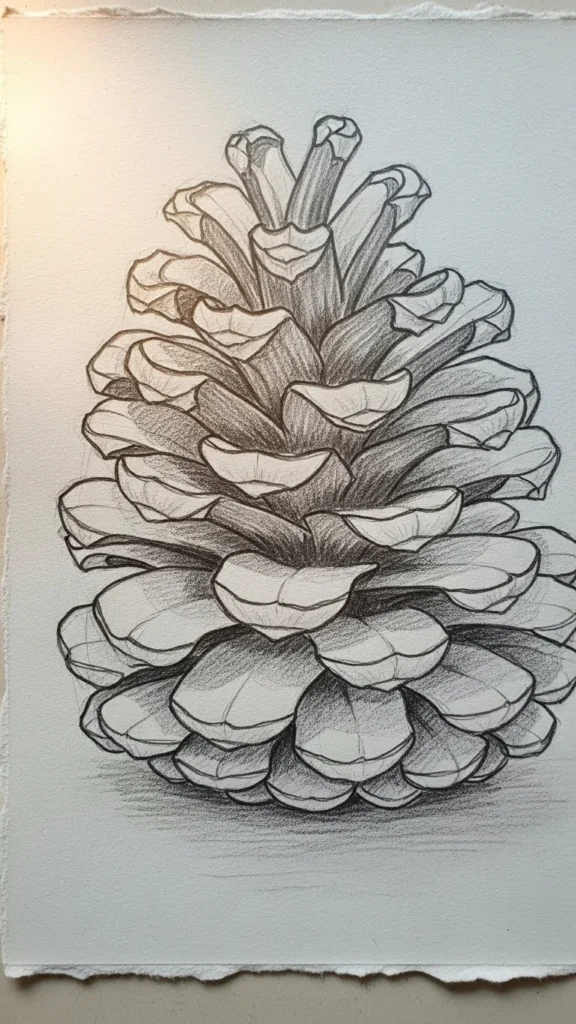
There’s something quietly beautiful about a pinecone. It’s natural, a little imperfect, and full of texture—exactly what makes it such a charming tattoo subject. If you love earthy designs that feel calm, grounded, and timeless, a rustic pinecone tattoo is a perfect choice. The best part? You don’t need to be a professional artist to sketch one that looks great.
This guide walks you through the process step by step, in a relaxed, beginner-friendly way. Grab a pencil, take a breath, and let’s sketch something beautifully simple.
Why Pinecone Tattoos Feel So Timeless
Pinecone tattoos carry quiet meaning without being loud or trendy. They’re often linked to:
- Growth and renewal
- Strength through seasons
- Nature, balance, and calm
- Subtle woodland or forest symbolism
Visually, pinecones are forgiving. Their layered structure allows for loose lines, gentle shading, and natural variation—perfect for a rustic tattoo style that doesn’t need to look “perfect.”
Step 1: Gather Your Simple Sketching Tools
You don’t need anything fancy to start. Keep it simple and stress-free.
- Pencil (HB or slightly softer)
- Eraser
- Plain sketch paper
- Optional: fine liner for outlining later
Before you draw, take a moment to look at a real pinecone or a photo. Notice how it’s wider in the middle and slightly tapered at the top and bottom.
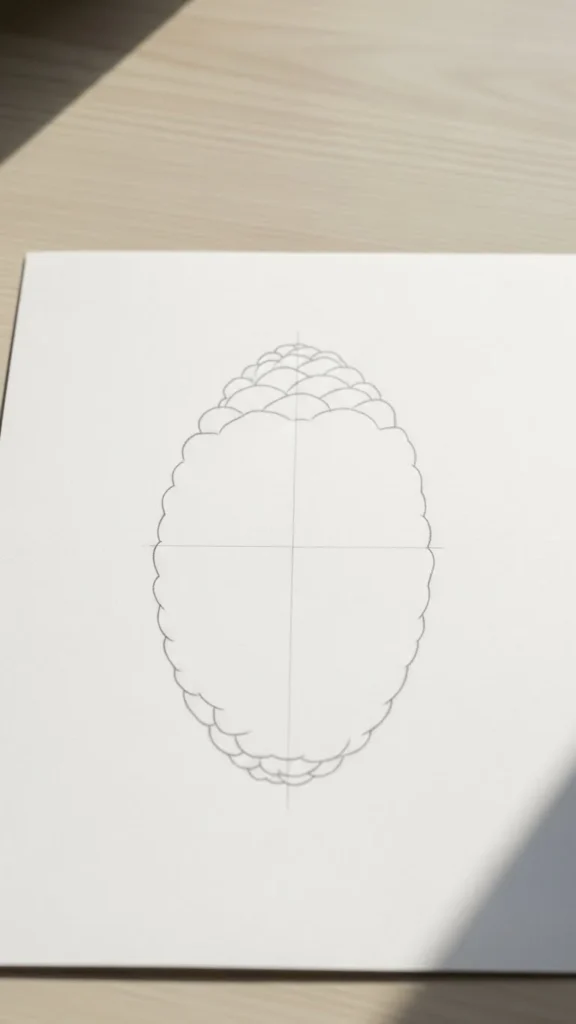
Step 2: Draw the Basic Pinecone Shape
Start with structure before details. This keeps your sketch balanced.
- Lightly draw an oval, slightly taller than it is wide
- Add a soft vertical guideline down the center
- Keep your lines faint—you’ll refine them later
Think of this as the “skeleton” of your pinecone. Don’t worry if it feels too simple at first. That’s exactly what you want.
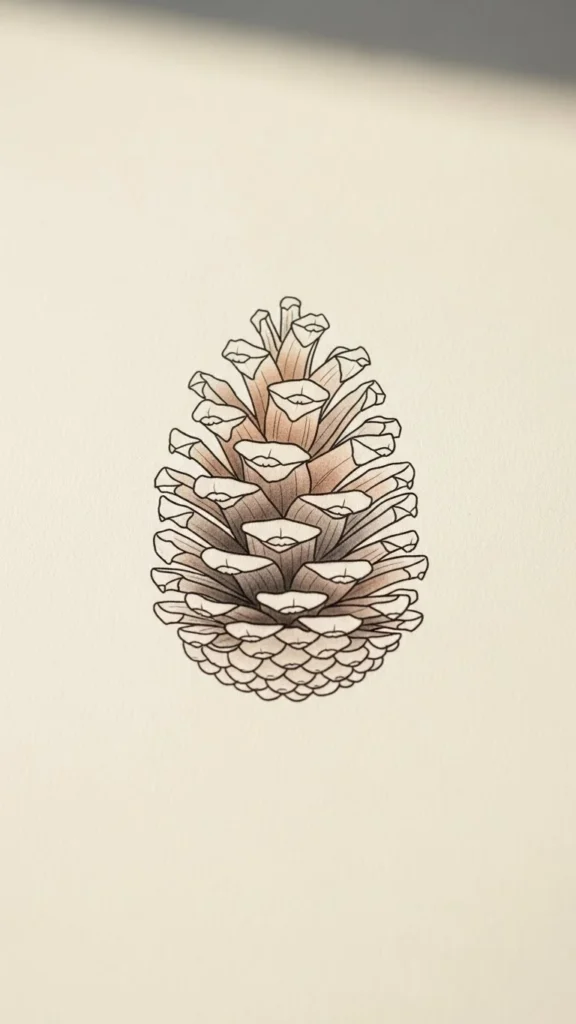
Step 3: Sketch the Layered Scales
This is where your pinecone starts to come alive.
- Begin at the center and work outward
- Draw small, rounded diamond or teardrop shapes
- Stagger each row slightly so they overlap naturally
Don’t aim for perfect symmetry. Rustic designs look better when the shapes vary a little. Some scales can be wider, some narrower. Let your hand relax.
Helpful tip:
- Draw fewer scales at the top
- Larger, fuller scales toward the middle
- Tighter, smaller scales near the base
This creates a realistic, natural flow.
Step 4: Add Depth With Light Shading
Shading is what turns a flat sketch into a tattoo-worthy design.
- Shade the base of each scale lightly
- Leave the tips brighter to suggest light
- Use small, controlled strokes
Avoid heavy shading all at once. Build it slowly. Pinecones have depth, but they’re not harsh. A soft gradient keeps the design gentle and organic.

Step 5: Refine the Outline for a Tattoo Look
Once you’re happy with the shading, clean things up.
- Gently erase construction lines
- Strengthen the outer edges
- Slightly darken key scale outlines
If you plan to ink the design, use a fine liner with a steady hand. Keep lines thin and consistent. Rustic tattoos look best when they feel hand-drawn, not rigid.
Step 6: Add Optional Rustic Details
This step is optional, but it adds personality.
You might include:
- A short stem at the top
- Tiny cracks or texture lines
- Light dotwork between scales
- A few falling pine needles nearby
Less is more. Choose one or two details so the pinecone remains the focus.
Placement Tips for Pinecone Tattoos
Where you place your tattoo affects how it feels.
Popular spots include:
- Forearm (great for vertical designs)
- Ankle or calf
- Shoulder blade
- Inner arm
Smaller pinecones work beautifully as minimalist tattoos, while larger versions allow for more shading and detail.
Common Mistakes to Avoid
A few gentle reminders:
- Don’t over-detail every scale
- Avoid heavy black shading too early
- Skip perfect symmetry—it looks stiff
- Don’t rush the outline phase
Rustic designs shine when they feel relaxed and natural.
Final Thoughts
Sketching a rustic pinecone tattoo is about slowing down and enjoying the process. You’re not just drawing an object—you’re capturing a calm, grounded feeling inspired by nature. Take your time, trust your lines, and let small imperfections add charm.
Save this guide for later, grab your sketchbook, and start creating your own pinecone design today!

Leave a Reply