

There’s something instantly mesmerizing about icicles. They look fragile, sharp, and magical all at once. When turned into a tattoo design, a crystal-like icicle can feel elegant, icy, and strikingly real. The secret isn’t complicated tools or advanced tricks—it’s learning how to observe light, shape, and texture carefully.
This guide walks you through the full sketching process step by step, even if you’re still building confidence with realism. Grab a pencil, slow down, and let’s bring that icy shine to life.
Understand What Makes an Icicle Look Real
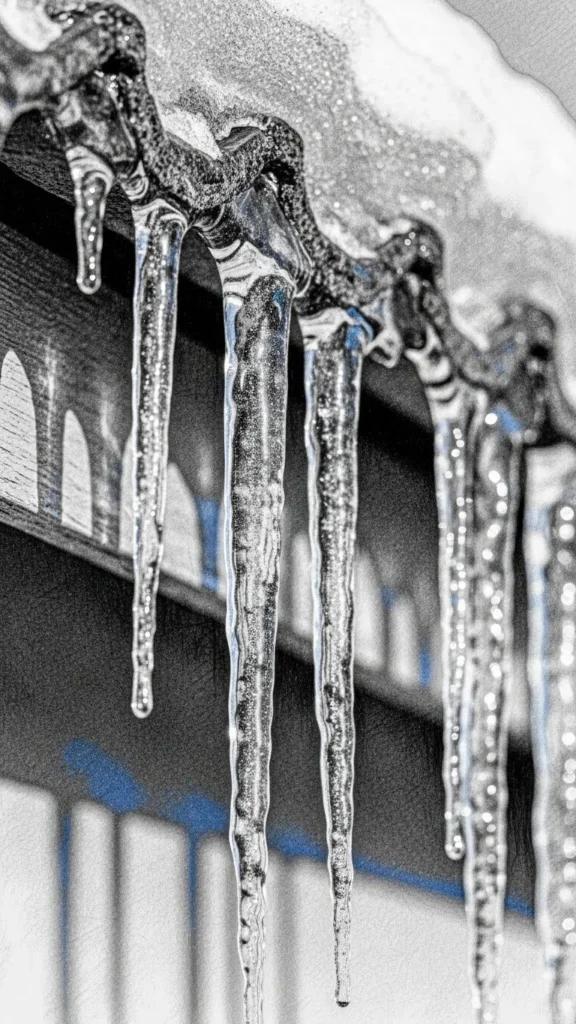
Before you start sketching, take a moment to study real icicles. Realism begins with observation, not drawing.
Icicles usually have:
- An uneven, organic shape
- A thicker top and a tapered, pointed tip
- Tiny bumps, cracks, and subtle curves
- Light passing through instead of sitting on top
Think of an icicle more like frozen glass than a solid stick. It’s translucent, reflective, and slightly imperfect. Keeping this mindset will instantly improve your tattoo sketch.
Gather Simple Tools for a Clean Sketch
You don’t need fancy supplies to sketch a realistic icicle tattoo. A few basics are more than enough.
- Pencil (HB for outlines, 2B or 4B for shading)
- Eraser (kneaded works best for soft highlights)
- Smooth paper or sketchbook
- Reference photos of real icicles
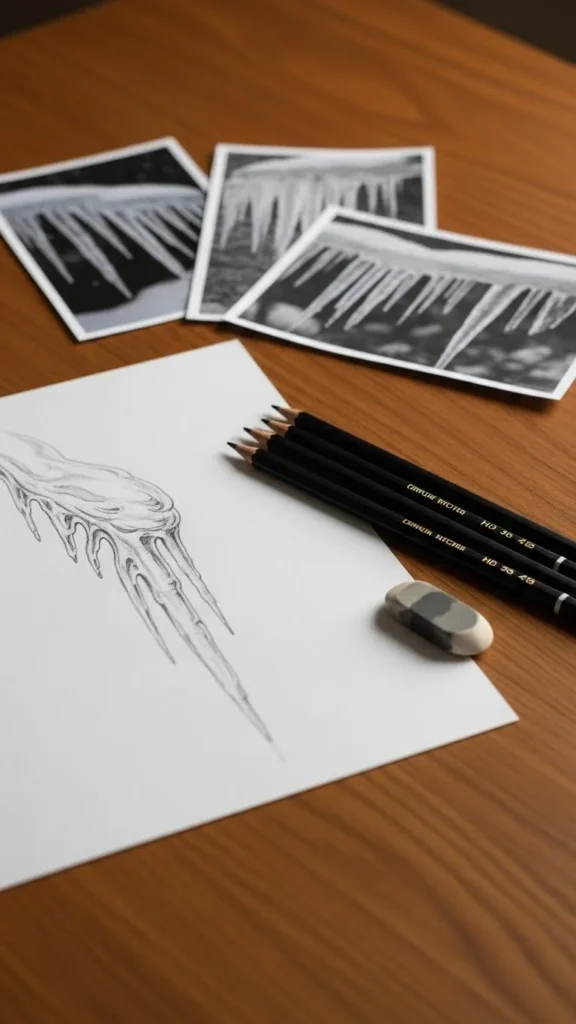
Working with simple tools helps you focus on form and light instead of getting distracted.
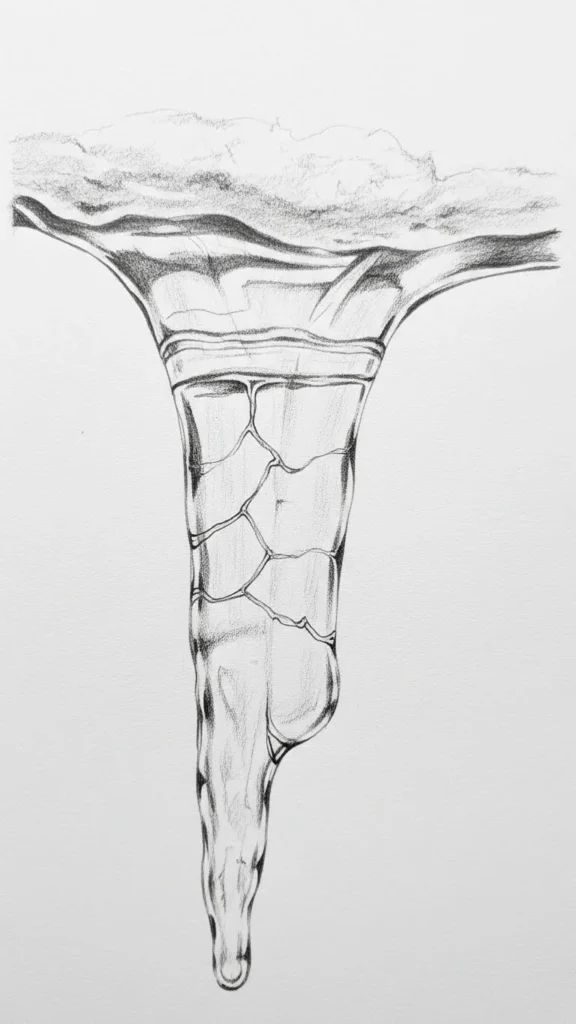
Start With a Loose, Natural Outline
Begin lightly. Icicles should never look stiff or perfectly straight.
Steps to follow:
- Sketch a long, slightly curved vertical shape
- Make the top thicker and irregular
- Narrow the shape gradually toward the tip
- Avoid sharp corners—keep edges soft
Don’t press hard yet. This is your foundation, not the final line. Imagine gravity pulling the ice downward as it freezes.
Tip: If you’re designing for a specific body part, keep placement in mind. Icicles look great flowing with natural body lines like forearms, calves, or along the spine.
Add Internal Cracks and Ice Texture
This is where the sketch starts to feel crystal-like. Real icicles aren’t smooth inside—they have frozen layers and tiny fractures.
Use a very light pencil touch to:
- Draw thin vertical lines inside the icicle
- Add small zigzag cracks near the center
- Vary line thickness to avoid repetition
Keep these lines subtle. They should suggest depth, not overpower the shape. Less is more here.
Shade for Transparency and Shine
Shading is what separates a flat drawing from a realistic tattoo design. Icicles rely on contrast and highlights.
Focus on these techniques:
- Shade darker along one edge to create depth
- Leave thin white areas to act as light reflections
- Blend softly toward the center
- Darken the tip slightly for a glassy finish
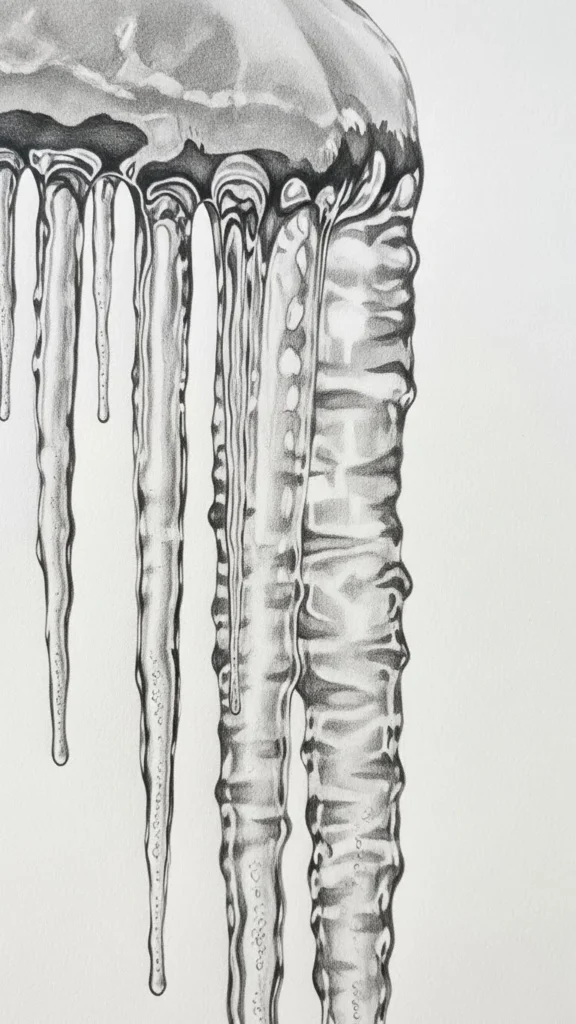
Instead of shading evenly, think in layers. Ice catches light in streaks, not blocks.
Quick check: Squint at your sketch. If it still reads clearly as an icicle, you’re on the right track.
Refine Lines for Tattoo-Ready Cleanliness
Tattoo designs need clarity. Once your shading looks good, clean up your lines.
- Erase messy guidelines
- Strengthen the outer edges slightly
- Keep line weight thin and elegant
- Avoid heavy outlines that kill realism
If the tattoo will be small, simplify details. If it’s larger, you can keep more internal texture.
Optional detail ideas:
- Tiny frost droplets at the tip
- A cracked ice edge near the top
- Multiple icicles overlapping for movement
Think About Placement and Final Adjustments
Before calling it done, imagine the sketch on skin. Movement matters.
Ask yourself:
- Does the icicle flow with the body’s curve?
- Are the details readable at the intended size?
- Does the design feel balanced?
You can lightly tilt or elongate the icicle to match natural anatomy. This small adjustment can make a big difference once it becomes a tattoo.
Final Thoughts
Sketching a crystal-like icicle tattoo isn’t about perfection—it’s about patience and observation. By focusing on natural shape, soft shading, and realistic highlights, you can create a design that looks cold, sharp, and beautifully real.
Save this guide for your next sketch session, and don’t rush the process. Ice forms slowly—and great tattoo designs do too.

Leave a Reply